Atalaya de Marchal – Best Watchtower in Andalucia?
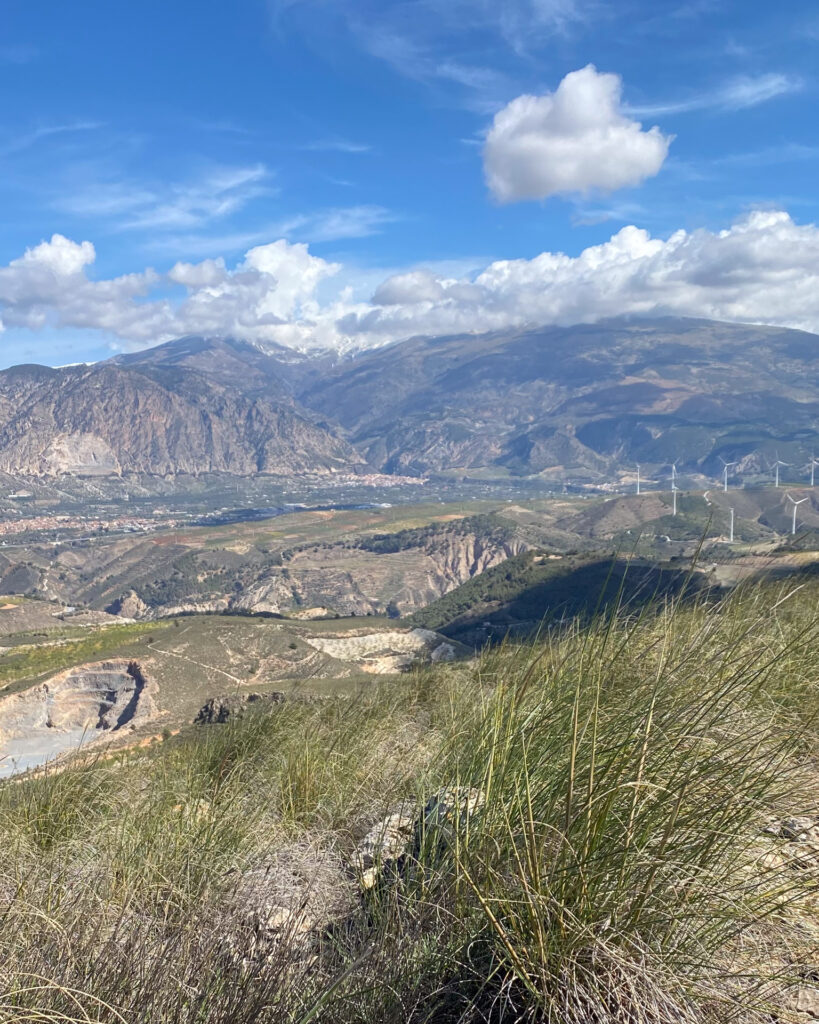
Windmills, Snow and Gigapixel Panoramas
This week, with the help of the Mountain Nomads, I found a location that has eluded me for months: the Atalaya de Marchal.
The Atalaya de Marchal is a watchtower built by the Moors on a hilltop outside Conchar, just off the Albenuelas road. Its purpose was to spot incoming hostile troops, pirates, and bandits and warn the neighbouring villages. Conchar, Restabal, Niguelas etc.
The reason it has eluded me for so long is twofold. First, it’s easy to spot from a distance, but as you get closer, hills between you and the watchtower block it off. Second, some helpful soul has defaced the signposts and blocked off the footpaths that lead to the watchtower.
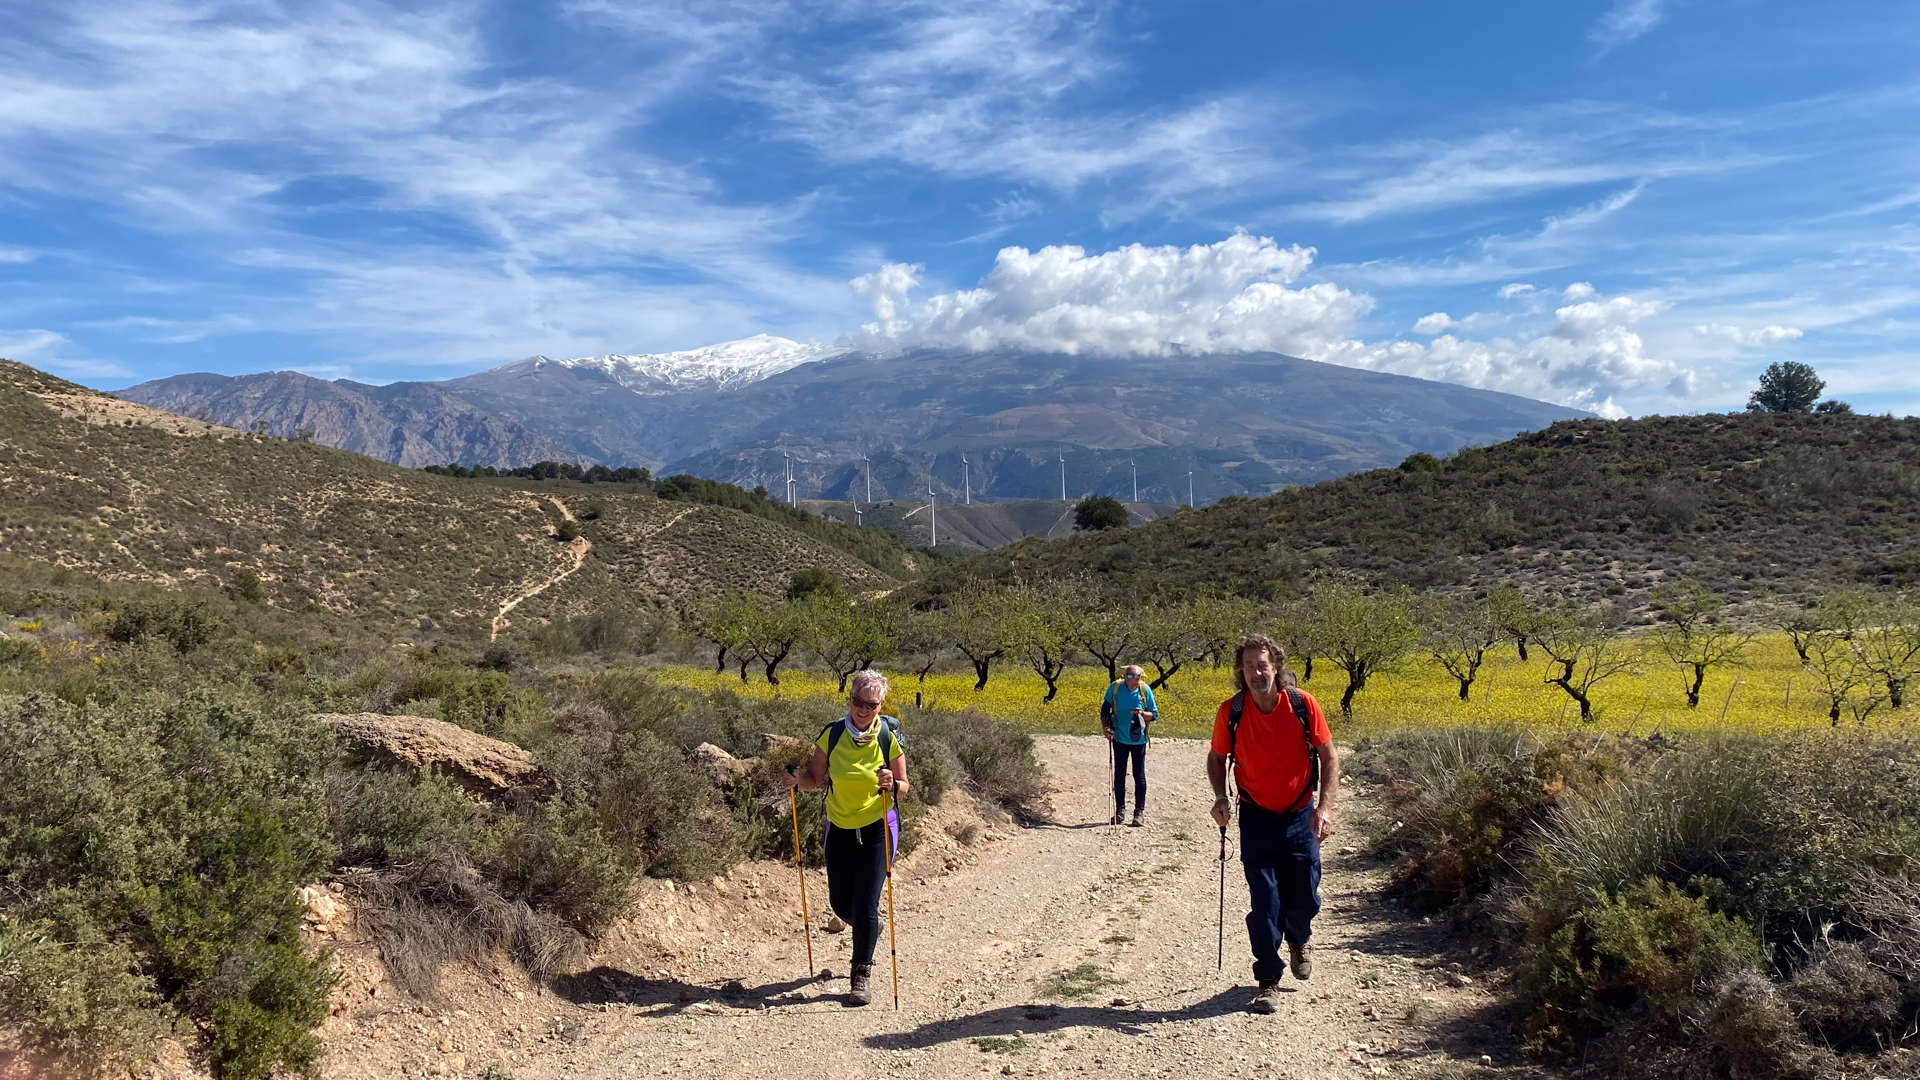
The walk itself was a scenic 10km hike from Conchar. Following the Ruta de Los Pinos, I forked off to circumnavigate some small but steep and unfriendly hills, ending up on the Albenuelas road within 100 metres of the footpath.
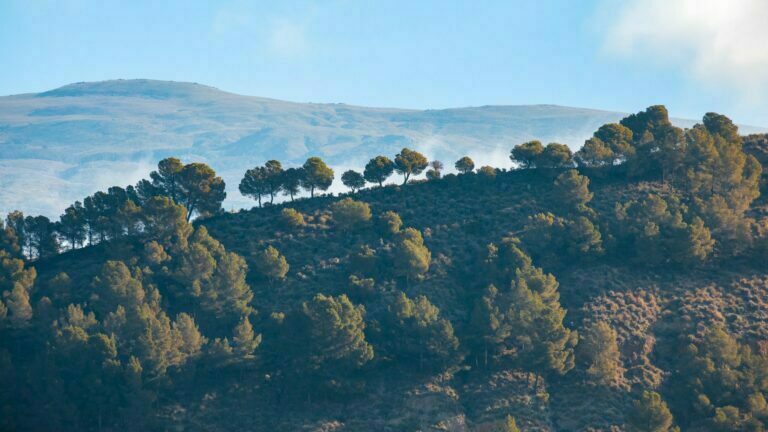
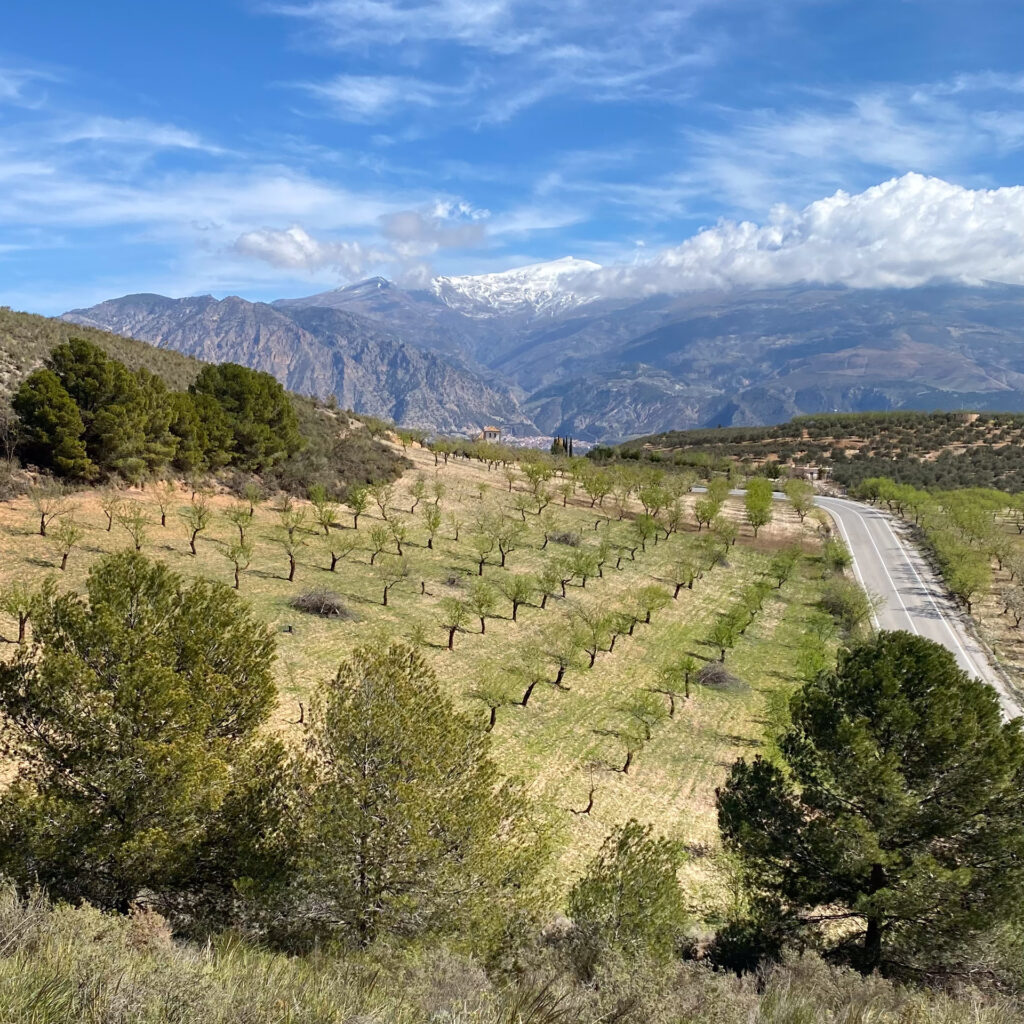
Like all of these paths, the climb up to the watchtower looks like a doddle in the distance but becomes quite relentless when you actually do it. When you get to the top, a stunning vista is revealed, across the Valle de Lecrin to the Sierra Nevada.
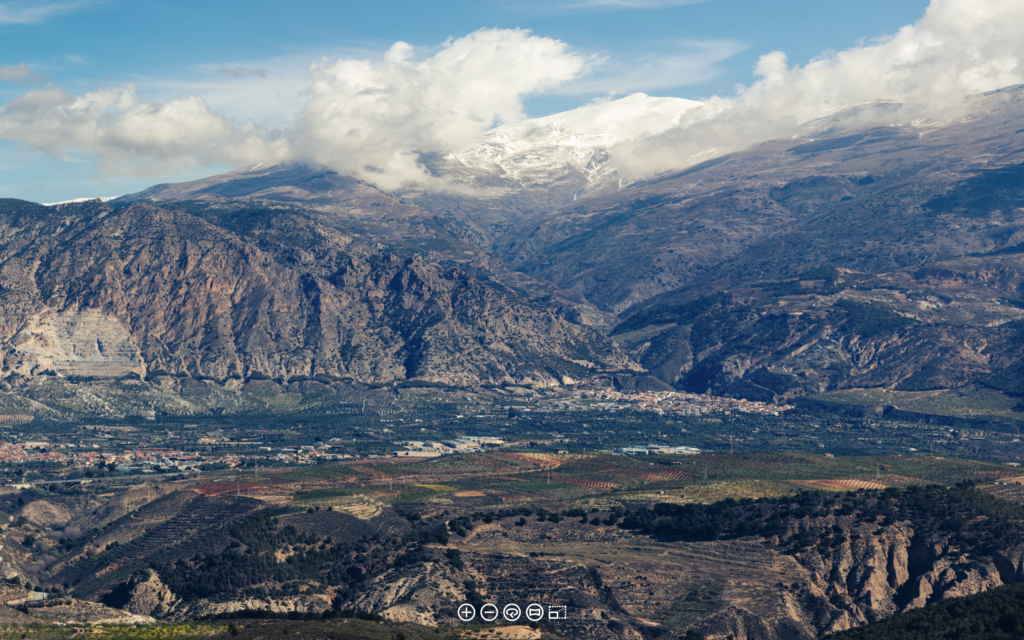
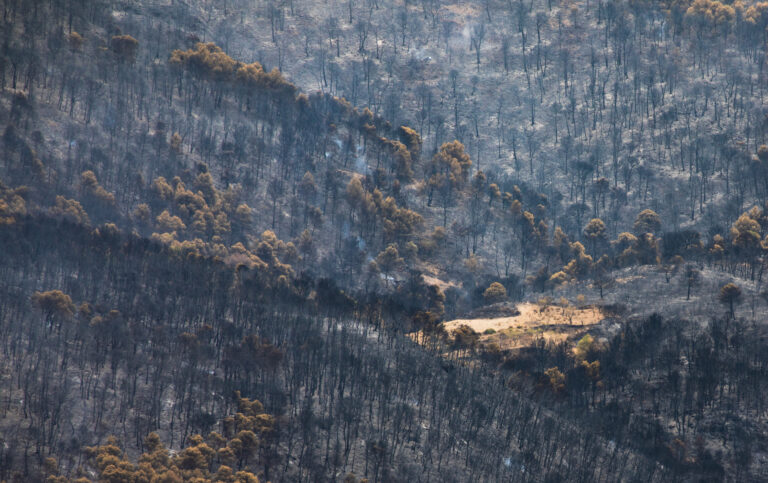
This image is an extract from the finished panorama, click on the picture to see the entire thing.
Table of Contents
Shooting the Panorama
The panorama consisted of two rows of 33 pictures shot in portrait orientation, overlapping by about 25% to make sure of a good stitch.
Hardware
- Canon 5Ds
- Canon EF 70-200mm f/4L IS II
- Acratech Panoramic Head
- Acratech Levelling Base
- Feisol CT-3442 with centre column removed
The 5Ds has a 50Mp sensor, so the potential for detail is quite astounding. I used the 70-200mm lens to get close to the distant hills and show some of that detail.
The Panoramic Head is calibrated in two dimensions meaning that I can calculate the overlap and then move the head manually between each shot. I shoot one row at a time. In fact I ended up with one extra shot on the top row because I overlapped the images slightly more.
The levelling base does exactly what it claims to do which is to precisely achieve a level platform for the camera. This means that I maximise the usable pixels in the panorama. If you’ve ever shot a panorama vertically, you’ll know how important this is to get right!
Processing the Panorama
Software
- Adobe Lightroom
- PTGui
- Pano2VR
The first job is to do basic corrections on the RAW images. It’s important to be consistent in this as the photos have to match in terms of exposure. I could have got better images from DxO PhotoLab but as this was a trial run opted for speed over quality. Lightroom has a sync button in develop mode that lets you synchronise the settings across a range of pictures. Work on one and copy those settings across the entire collection.
I then exported the images as tiff to reduce the processing burden.
The second job is to send the processed images to PTGui for stitching. PTGui is the best tool available for large Panoramas. It is of industrial quality and robustness.
Once stitched, the file was still around 3Gb in size, way too much to edit in Lightroom or Photoshop so I set the output size to 65000 pixels in length. This is the max length that Lightroom can handle.
Back in Lightroom, I adjusted the crop to get the best possible image and exported this file as a TIFF at full size.
The next stage is about creating a renderable panorama in HTML 5. You cannot put a 3Gb file on a website or upload to social media, it is just too big. The way around this is to break the image up into thousands of tiny fragments and load them as a stream rather than one image. The putting back together into one image is performed (quickly) by the user’s browser.
I exported the cropped output to Pano2VR and ran the tools, specifying the angle of view is important as that defines the beginning and end of the panorama.
The export is basically a website, arranged in a predefined directory structure with a index.html file at the top level. You can test this in the tool.
Distributing the Panorama
You now have a miniature website on your hands and websites need hosting. I don’t host my own panoramas in the same data centre as my website because I don’t want the load to slow down my main website. Instead, I use Amazon S3 to host the panoramas and embed them in my website using an iframe.
Detailed instructions for Setting up Amazon S3. for hosting websites or panoramas.
A Hike to the Atalaya de Marchal – Conclusion
This probably the best viewpoint, apart from the Sierra Nevada itself in this part of Andalucia. The panorama as a test shot surpassed my expectations, though the real test is getting up there (and down again) for a sunset or dawn. That will yield a much more dramatic photograph.
Incidentally, I have no commercial relationship with any of the companies whose products I have used for this shoot. All were bought with my own hard earned cash and I use all of them regularly and can recommend them without hesitation.
Subscribe…
I’ll keep you in the loop with regular monthly updates on Workshops, Courses, Guides & Reviews.
Sign up here and get special prices on all courses and photowalks in 2024