Catalog Management with Lightroom Classic
In this guide, we will be focusing on Catalog Management with Lightroom Classic.
Adobe Lightroom Classic is the tool preferred by most professional photographers. Let’s take a closer look and figure out why that is.
Adobe Lightroom Classic vs. Adobe Lightroom
Adobe Lightroom Classic is the freestanding version of Lightroom that is still favoured by most professionals.
Adobe Lightroom CC is a cloud based application that enables you to use cloud storage and access your photos on the cloud from your desktop, web connected devices and mobile phones.
Lightroom CC is not as fully featured as Lightroom Classic and you are restricted in the amount of storage you can use (100Gb currently with 1Tb available at a price).
There is little doubt that Lightroom CC will continue to develop but at this point in time, it is a tool for casual photographers and social media.
Catalog Management with Lightroom Classic
Everything that follows is about Adobe Lightroom Classic.
There are Seven Modules in Adobe Lightroom Classic
Library – Develop – Map – Book – Slideshow – Print – Web
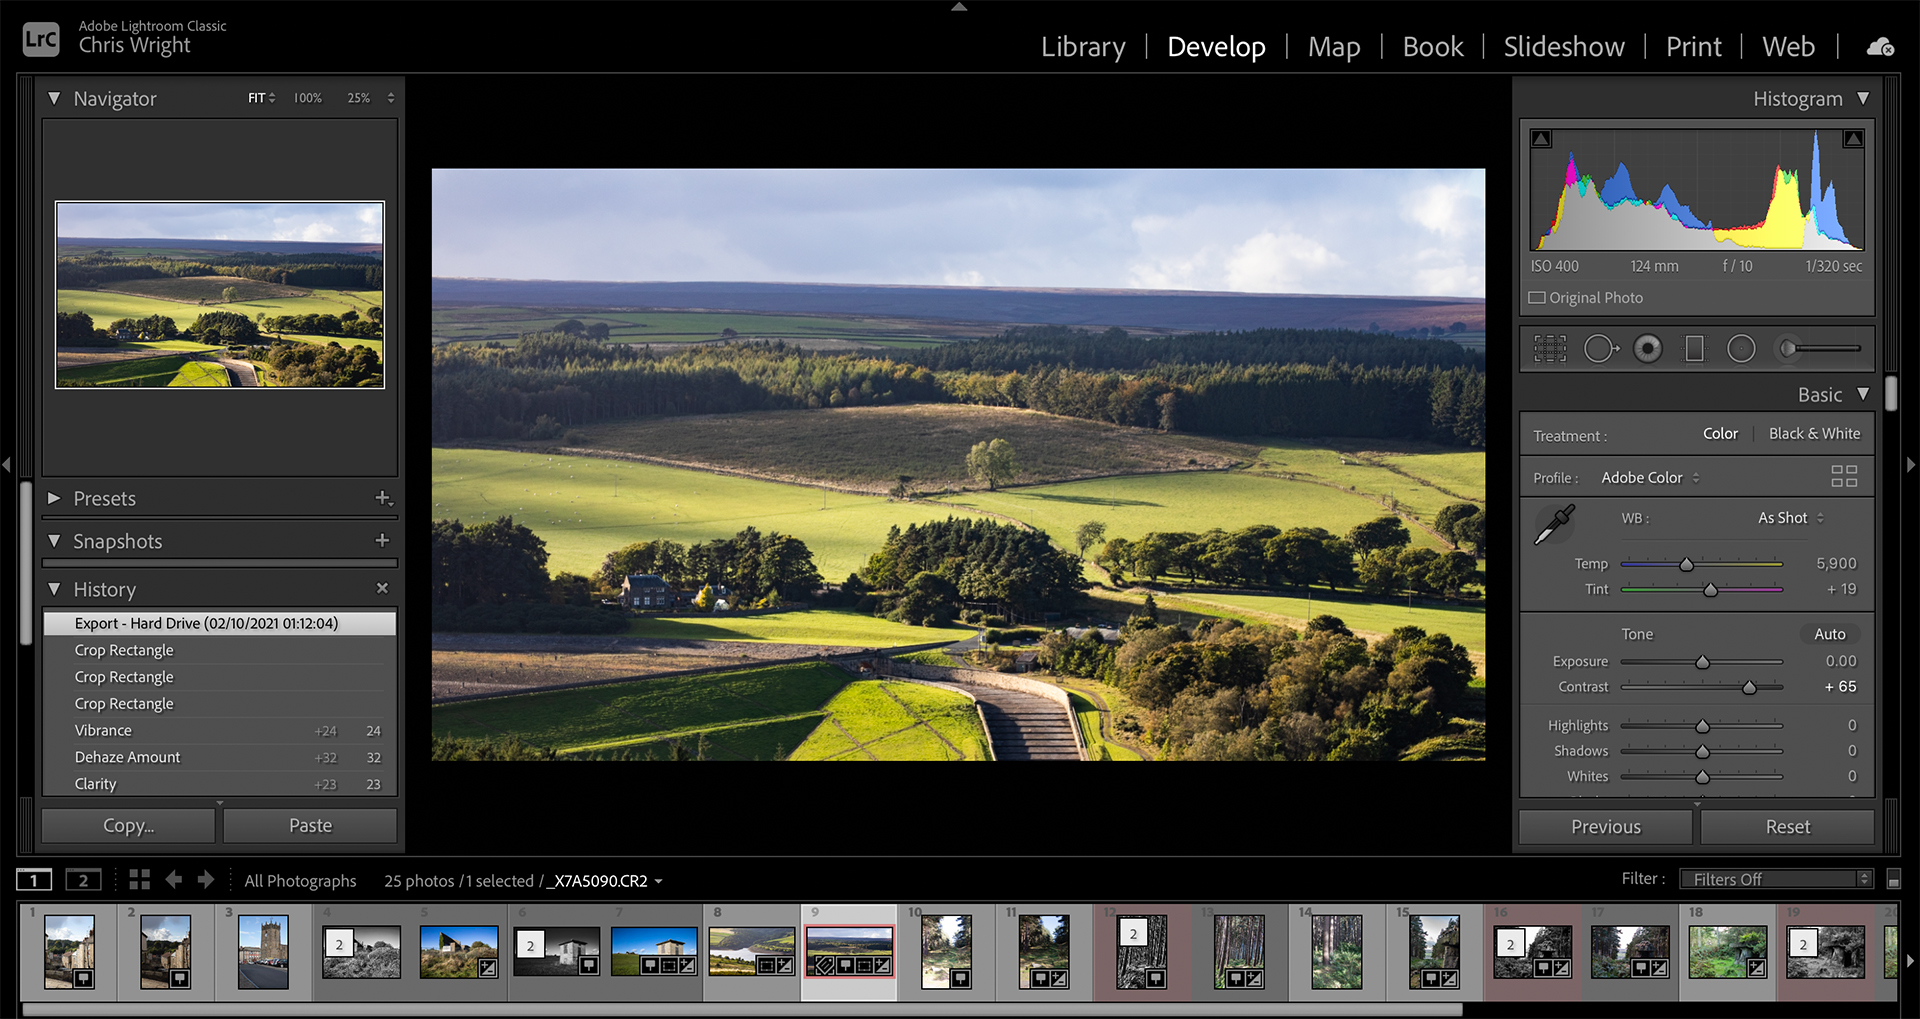
The Library Module
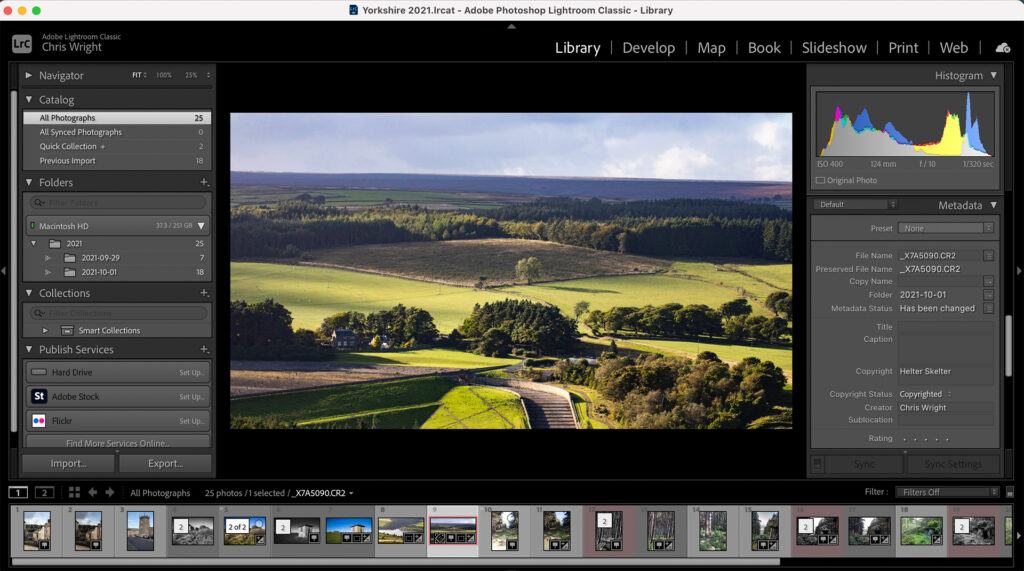
What is a Lightroom Catalog
A Lightroom Catalog is the means by which Adobe Lightroom keeps track of the images on your computer. It is accessed, slightly confusingly, from the Library Module.
A Catalog consists of a directory containing a catalog file with an lrcat extension and (if you import your images there) a set of directories organised by year and date.
Note that the location of the images is recorded in the catalog file, but the images themselves exist independently of the catalog, their location is referenced in the catalog.
When you open Lightroom it will default to the last Catalog you were working on. To change this, choose File – Open Catalog
To create a new catalog choose File – New Catalog
Organising Lightroom Catalogs
When organising Lightroom catalogs its important to bear in mind that the multiple images that you will import from your camera will be stored in the filesystem and referenced in the catalog.
To be explicit, the only way Lightroom knows where an image is located is via the location it has recorded when the file was imported.
This has some implications.
- If you keep your pictures in a directory other than the catalog directory, they will go missing if you copy that catalog to another disk.
- If you move the location of an image, do it from within Lightroom, otherwise it will go missing.
- If an image has gone missing you can find it within Lightroom. Fortunately Lightroom is semi intelligent in this respect, if you show it the directory that the image file is in, it will scan that directory for all missing images.
The Default Lightroom Catalog
Windows: By default, Lightroom creates catalogs including the default catalog in My Pictures folder. To find them, go to C:\Users\[USER NAME]\My Pictures\Lightroom.
Apple Mac: Lightroom creates its catalogs in the Pictures folder. They can be found in the [USER NAME]\Pictures\Lightroom folder.
The location of a new catalog folder can be decided when you create a new catalog. Lightroom will create the new folder where you want it to be and create the catalog file inside that folder.
One Lightroom Catalog or Many?
The default location for importing images on the Mac is into the Pictures directory. If you import them there, you will not be able to move your Lightroom Catalog to another disk.
The best practice is to keep your images on the same disk as the catalog. This way, copying the disk will effectively back up the catalog and the images, with the image location relative to the catalog intact.
Why would you have a single Lightroom Catalog?
If you have no need to move your images from your computer or from a separate external hard drive, then it’s perfectly valid to have a single catalog.
However, images are getting larger every year – my Canon 5D S has a 50 Mp sensor and the files are roughly twice as big as those created by my Canon 5D Mk IV.
Why would you have multiple Catalogs?
If your photography falls into multiple categories or you are a professional working with more than one client, it is useful to have multiple catalogs.
For example, I’m a professional photographer and I keep a separate catalog for each of my clients and projects. This means that I can easily locate photos belonging to each of my clients or projects without any confusion.
Maintaining multiple catalogs also means my keyword sets can be more straightforward and if I need to search for an image there will be fewer images with the same keywords, so faster and easier.
Hard Drive or Portable Drive
Disk space is an ongoing concern, always has been! Digital photographers are prone to shooting hundreds of photos every time we lift up the camera, so a single hard drive on the laptop will very quickly get filled up.
That’s a good reason to keep your catalogs and photos on a separate drive.
Best Practices for Catalog Management
- Keep all Catalogs on an external drive
- Keep all images inside the Catalog directory they belong to
- When you export images for web or print, keep those images in new directories inside the catalog directory.
- Never lose another image!
Backing Up Lightroom Catalogs
If you follow the best practices outlined above, then you can simply copy the drive or the catalog directory to a new hard drive or network attached storage. If you lose your disk, you can copy the backup down to the new disk.
You cannot open a Lightroom Catalog from remote storage.
Catalog Settings
Now that we understand how to manage Lightroom catalogs, let’s cut to the chase and talk about managing photos!

Metadata
Metadata is data that describes the image. There are two sets that are important.
Exif Data
Exif Data is created by the camera at the time the photo was taken and is embedded in the image file. This is the data you see in the Metadata Tab in Lightroom Classic.
Keywords
Keywords are also metadata but these are applied in Lightroom and stored separately from the image file.
Why Metadata is important
There are two reasons (at least) to use metadata.
- Copyright is part of the metadata. Strip this out at your peril!
- Search is easier with metadata.
How to set up common metadata

The metadata seen here is the data that is set by the camera.
The camera records the detail describing the shot, time, location (if GPS enabled), camera, lens, exposure.
Optionally you can set up the copyright data in camera as well. This is transferred to Lightroom when you import the image.
The other common metadata comes in the form of Keyword sets.
Keyword Sets
Keyword sets are collections of keywords. They can be related by project, geography, genre. Basically any scheme that will enable you to search more efficiently is a good candidate for a keyword set.
Choosing Keywords
Choose keywords that are descriptive and will help you search for the photo later. The type of words that will be meaningful very much depend on your relationship with photography.
If you are a travel photographer for example you might want to Keyword Sets named after continents and keywords including country, town hotel, resort etc.
If you are a wedding photographer then your keyword sets might be Elopement, Traditional, Civil etc.
Or you could be more coarse grained still.
Lightroom comes preloaded with the following Keyword Sets

Outdoor Photography
Wedding Photography
Portrait Photography
The Outdoor Photography Set contains
Landscape, Macro, Flowers & Plants, Spring, Summer, Wildlife, Fall, Winter, People
Keyword List
The keyword List is the total list of keywords. Clicking on one keyword contained in the list will add it to the keyword tags for the photo that you are working with. Adding a new keyword in the keyword tags box adds it also to the list.
Hierarchies
So far we have Sets of Keywords. It is also possible to nest keywords inside other keywords. So the keyword Flowers & Plants might contain another keyword Rose for example.
This is done by right clicking the parent keyword in the keyword list and choosing Put New Keywords Inside This Keyword.
Metadata management is complicated and my advice is to devise a metadata schema before you go anywhere near the keyword boxes. If you don’t work to a plan, then very quickly you’ll have a sprawling set of keywords that are difficult to relate to one another and even harder to remember when you try and search for anything.
Photo Management
So finally, after we’ve thought deeply about metadae, we come to the business of the day. Photo Management.
Unfortunately Lightroom does not manage your photos by magic. You have to do a bit of work to help Lightroom do this well.
If you have a sensible keyword schema and a sensible file system design, then your are well on your way to getting the best out of Lightroom Classic.
If you simply pile in and import pictures without a care in the world, then just wait until you upgrade your computer.
Moving a disorganised Photo Library to a different computer is a whole world of pain involving missing photos, duplicate photos, lost without trace photos…
Organisation is absolutely key to being a successful photographer and that extends all the way to your hard drives.
Import Photos
When we import photos into Lightroom Classic, we import the original RAW file and Lightroom creates a .xmp file to store the setting in.
It’s important to know that Lightroom is a non-destructive photo editor, the original file remains untouched. Edits are stored in the .xmp file and applied when you open the photograph.
It is this that allows you. to create virtual copies of photographs, without substantially adding to the amount of data you store. The same RAW file is used with different settings applied.
Image Location
When you import a set of images from a camera or disk, Lightroom will default to storing them in the default location – on the hard drive. Don’t do this.
Instead, store your images in the same location that you create your catalog. You can create subdirectories there so any sensible hierarchy will suffice.
When you choose Import in the Library Module, the entire interface changes. Lightroom will recognise Cameras and Camera cards that are mounted on the computer, offering them as a source location on the left.
At the top centre of the screen you can choose between
- Copy as DNG
- Copy
- Move
- Add
Copy as DNG
This option is for converting manufacturer specific RAW files into portable DNG files. One good reason to do this is that DNG files are much smaller than RAW files. It will leave the original RAW on the disk and copy the DNG to the location you choose on the right.
Copy
This option simply copies the file as is from the source to the destination.
Move
Move deletes the original file.
Add
This option adds the photo to the current import, but leaves the original in place. This in my opinion is a recipe for disaster, but I’ll just leave that here.
Once you have chosen the Action and clicked on the Source, all the photos on that card or directory will load in grid view into the middle screen.
You can select which ones you want at this stage.
Valuable tip – Most people rate their photos form the best down to the worst. This method by definition encourages you to import every photo you shoot. Rarely is this good idea.
Instead, take the opportunity to omit the unusable photographs at this point. Your wallet will thank you as you won’t need to buy any more storage for a few months longer!
Lightroom Collections
In case you thought Filesystems and metadata weren’t complicated enough, Adobe introduced the notion of Collections to help photographers create groups of photographs that are related but stored in different locations.
There are three types of Collection.
- Collections – used to group photos together to access them across all Lightroom panels.
- Smart Collections – used to gather images together automatically using your own criteria.
- Quick Collections – Temporary sets to simplify a particular task.
You can also make Collection Sets – used for organizing collections and smart collections.
For the detail, check out the Guide – Best Way to Use Adobe Lightroom Collections.
Export Photos
Exporting Photos indiscriminately is the best way to fill your disk with multiple copies of the same photo. Sometimes it’s unavoidable, you’ll want a different size and resolution for Print than you will use for Social Media and the Web for example.
You’ll also want different sizes of images for different social media accounts.
Creating Export Locations
My advice is to create export folders as subdirectories in the same location as the one you use to keep the catalog.
At the very least create a Web and a Print folder, inside Web I’d have another folder for social media to differentiate from my own website.
If you do this, then you will never lose another picture, your hard drive won’t be cluttered up with duplicate images and the business of photo editing will be a pleasure instead of an endless frustration!
Moving Images
If you must move images, then move them within the Navigator panel on the left in Lightroom so that the location of the image is updated.
If you don’t do this within Lightroom, then the image will no longer be where Lightroom thinks it is and you’ll see a grey pane with a Question Mark instead.
It’s worth mentioning that if this happens, right clicking on that pane will offer you the option to find the photograph. Navigate through the filesystem until you find it and the location will be. updated.
Conclusion
If you’ve got this far, you probably understand more than most practising photographers about Adobe Lightroom. Most of the key takeaways are portable across systems. These are:
- Work out how you are going to use Catalogs before you start to use them
- Devise a workable file system that will help you find your photos
- Devise a sensible keyword schema so that your categorisation in repeatable and organised
- Be careful where you export Photos to!
Some people never progress beyond Lightroom and others insist that Photoshop on its own is enough. I process around 30% of my photographs exclusively in Lightroom, it is an excellent RAW editor and probably the best Library Management system around.
There are competitors, DxO Photolab and Capture One both have better RAW processors and Capture One is moving rapidly towards Photoshop style functionality.
Will Adobe Creative Cloud continue to dominate the space? Try it for yourself, get a Free Trial here.
Adobe are putting their bets on the consumer market’s appetite for cloud based photo storage. It’s very lucrative and there are a lot more amateurs than professionals so it’s sound business.
I wouldn’t like to put money on it, but I can see credible contenders emerging to challenge Adobe, particularly at the professional end of the market.
After you import the photos into a catalog and export them into a filesystem is when the photo editing takes place!
In the next article we’ll be looking at Photo Editing in detail, covering Adobe RAW and all of the operations available to you in Lightroom.
This will include the histogram – you should already be familiar with this from your camera. Colour grading and the tools available to you in Lightroom.
Try the Software
For Photographers the best deal available is the Photography bundle – Lightroom + Photoshop at a very reasonable price per month, all updates included.
Check out the Lightroom Guides
The Best Way to Use Adobe Lightroom Collections
Subscribe…
I’ll keep you in the loop with regular monthly updates on Workshops, Courses, Guides & Reviews.
Sign up here and get special prices on all courses and photowalks in 2024
I sometimes use affiliate links in our reviews and instructional material. If you purchase software or hardware through one of these links it won’t cost you any more, but it does help me to offset the costs of creating the content.
Thanks for your support!


