How Good is the Ricoh GR IIIx
I’ve been looking for a small camera to use for street photography lately and finally took the plunge last week, buying a second hand Ricoh GR IIIx from MPB. There has been a lot of excitable claims made about this camera over the last couple of years, so how good is the Ricoh GR IIIx actually?
Table of Contents

What is the Ricoh GR IIIx?
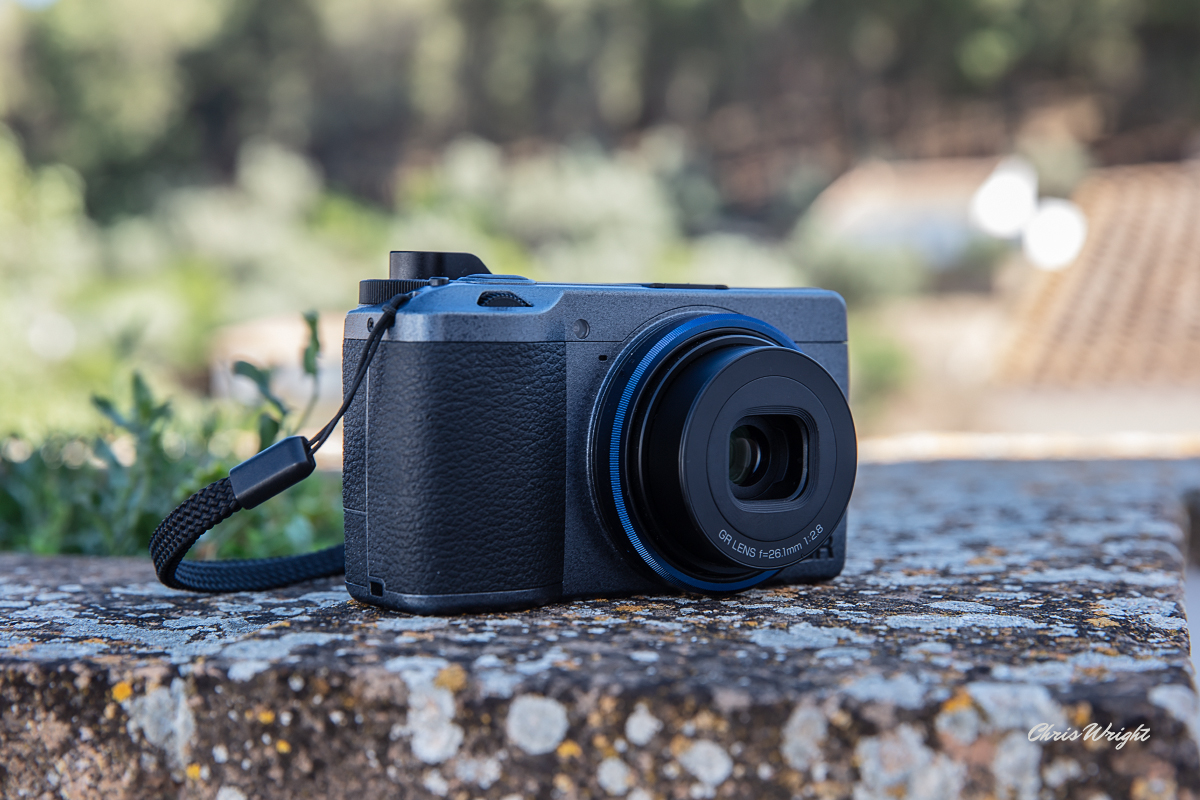
The Ricoh GR IIIx is the latest version in the Ricoh GR line. The one pictured above is the the “street edition” with the blue lens ring.
It is a small, actually pocket sized, camera packed with great functionality and sporting a lens/sensor combination that delivers obscenely sharp photographs for such a tiny combination.
Designed primarily for street photography, the GR IIIx comes with a 26.1mm lens and a 24MP APS-C Sensor, a combination equivalent to 40mm on a full frame camera. On board image stabilisation enables an awesome degree of sharpness.

Why is the Ricoh GR IIIx so desirable?
Primarily, the GR IIIx appeals to serious photographers because of it’s tiny footprint and incredible lens. This combination makes it an almost perfect camera for street photography.
How Capable is the Ricoh GR IIIx?
The 24MP APS-C CMOS sensor boasts a huge ISO 100-102,400 sensitivity range which promotes excellent image quality in all kinds of lighting conditions.
In Camera Processing
Reading the Ricoh GR forum on Facebook it is difficult to escape the impression that the reason people love this camera so much is the availability of “recipes” that enable in camera processing. These can be applied as preset, there are three customisable presets available via the function dial, in which case point and shoot produces a processed jpeg conforming to the settings you have supplied.
Recipes are shared frequently and there is an iPhone app called Ricoh Recipes that contains dozens of detailed settings for a variety of looks including startlingly accurate film emulations.

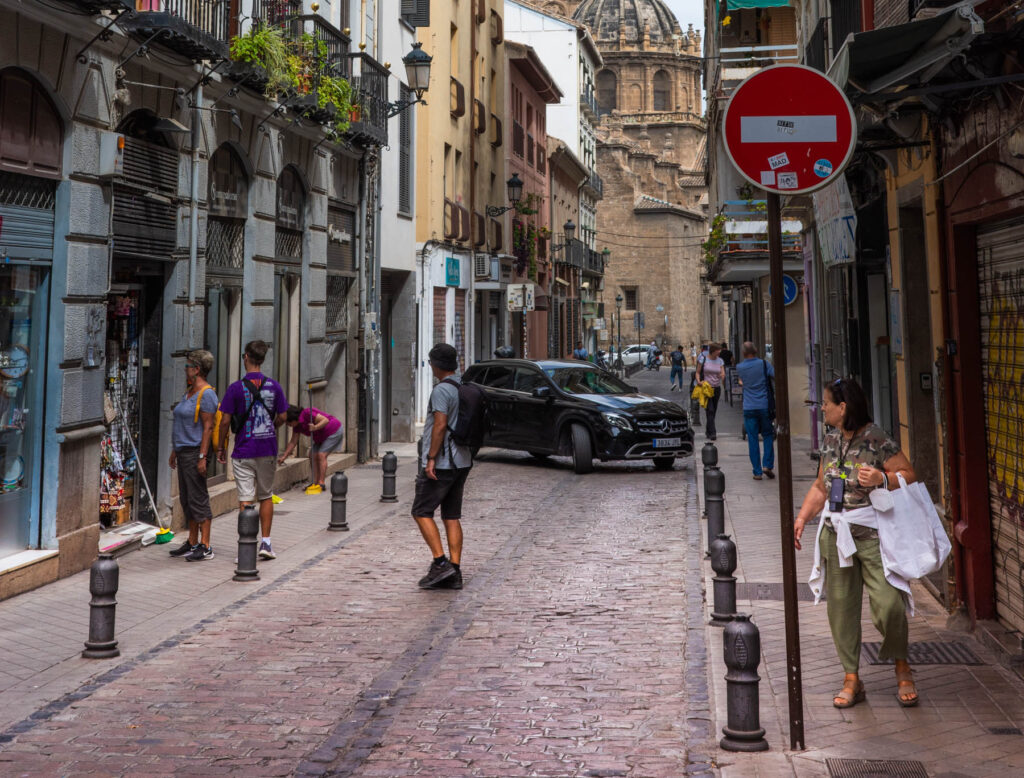
This image was shot using a street photography recipe I grabbed from Eric Kim’s website. It works just as well with plants!
Using the Settings to make life easier
The Settings menus are pretty intuitive, but there are a few key settings that are worth their weight in gold if you want an easier life.
ND Filter
There is an onboard ND Filter that can be turned on permanently or set to Auto. This will apply 2 stops of correction to the current setting at f/2.8
Snap Distance Priority
Allows the photographer to set a zone of sharp focus which is adjustable via the aperture setting. This is a modern equivalent of the way rangefinder cameras work and is invaluable for street photography where the photographer waits for a subject to enter the zone of sharp focus.
Macro Mode
Enables focus at 10cm from the lens.
Peripheral Illumination Correction
Corrects vignetting caused by the lens.

Image Control
Offers a range of presets and 2 customisable slots. These are not applied to RAW images, they simply produce a jpeg, edited to the particular recipe.
Included are:
Standard
Vivid
Black and White
Hard Monotone
Hi-Contrast Black and White
Negative Film
Positive Film
Bleach Bypass
Retro
Cross Processing
Custom 1 and Custom 2
Processing a RAW File in Camera
The RAW development tools are found in the Image Edit Menu. Available controls are:
Picture Size (L, M, S, XS)
Aspect Ratio 3:2, 4:3, 1:1
Color Space: sRGB, Adobe RGB
White Balance (all the WB settings that can be preset – change what was used when the shot was taken)
Image Settings: As listed above.
Peripheral Illumination Correction
Sensitivity: EV Adjustment
High-ISO Noise Reduction
Shadow Correction – Lift or Deepen Shadows
Levels Adjustment
Controls White and Black point and Exposure
Color Moire Correction
Low, Medium or High.
Base Parameter Adjustment
Includes Brightness, Saturation, Hue, Contrast, Sharpness.

Summary of On Camera Tools
Taken as a whole, Ricoh have provided a pretty solid selection of tools and these tools are the basis for all the recipes that are out there. However, the issue for me is that with the camera being so tiny, I would much rather do my processing in Lightroom or PhotoLab. That being said, the way in which these controls are represented makes for a much shallower learning curve. The quality of the recipes that are available are testament to the effectiveness of this arrangement.
And this is where, at least for me, there is a big question mark over photography. This is not an AI-enabled camera, rather it surfaces multiple complex calibrations in easy-to-understand single controls, an approach which is arguably much needed in order to encourage non-technical creatives to express themselves quickly and easily..
But this leads directly to the argument currently engulfing photography, which is about AI being introduced to post-processing workflows. I’ve been a professional photographer for more than a decade now and I welcome the opportunities presented by AI as long as they supplement rather than replace the craft-based way of doing things.
To be clear, when I shoot. an image, I usually have a view of what that image should look like after processing. I can normally achieve that look in Lightroom, perhaps supplemented by Photoshop. I don’t want to find myself picking looks from a list, as fun as that might be, I won’t accept something that is close but not identical to the vision I had for the picture.
So How Good is the Ricoh GR IIIx?
As a camera, this is an absolute gem. It’s as sharp as a tack and very flexible. How they packed so much into such a tiny frame with real dials and buttons is a minor miracle. The difference for me personally between hauling a Canon 5D with a 35mm lens around town and sauntering about with the Ricoh GR IIIx is immense. This camera literally fits into my jeans pocket.
Landscape Photography

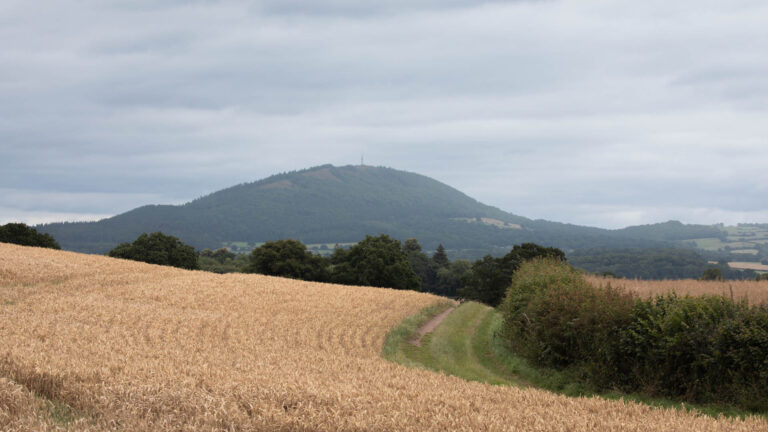
This is not a camera I thought to use for landscape photography for an instant, but once you get used to the 30mm focal length it’s surprisingly good. One thing really stood out for me, the amount of information retrievable from shadows is vast, so even in the Spanish summer, I’ve found it possible to get perfectly good exposures without bracketing, by exposing for the highlights and raising the shadows in software.
Read about my hike in the Sierra Nevada!
Pros
Form Factor/Weight – so much easier than a DSLR in town
Ease of Use – once you’ve got used to the lack of a viewfinder and worked out the adjustment wheels for ISO, Aperture and Shutter Speed.
Stabilisation – Superb
Shutter Speed – No more anticipating the moment (see Canon G1x)
Cons
Form Factor – I have had the camera slip from my hand, resulting in an impromptu and undignified juggling display. I caught it and it was my fault anyway for not using the strap.
Battery Life – You’ll need several batteries
Back Screen Brightness – This can be adjusted to compensate for bright sunshine, at some cost to battery life. Well they say life is a series of compromises..
Summary
I have loved using this camera over the last week, and I’m looking forward to spending a day in Granada with it next week. At €900 it wasn’t exactly cheap, but worth the weight difference in gold. In case you were wondering, a lens/body profile is available in both Adobe Lightroom and PhotoLab.
If you’re tempted, before you splash out, check out my post Beating Gear Acquisition Syndrome!
Thanks for reading, subscribe below for updates on workshops and photography holidays scheduled for 2024.
Subscribe…
I’ll keep you in the loop with regular monthly updates on Workshops, Courses, Guides & Reviews.
Sign up here and get special prices on all courses and photowalks in 2024


