DxO PureRAW 5 Review
DxO PureRAW 5 is a product whose mission in life is to perform demosaicing and noise removal better than any other RAW processing software in the market. Since this is the fifth iteration it must have been pretty successful.
Table of Contents
So what have DxO been up to this last year? Well, the good news is the newest DeepPRIME algorithm is substantially faster than previous releases and delivers slightly less aggressive detail retrieval as well as near perfect noise removal compared to last year’s version. You can still use last year’s algorithm if it suits your image. And this is to be welcomed, but apparently it’s not enough to just do the same things better.
Video
Existing Functionality and Improvements
Workflow in PureRAW
Since PureRAW is essentially a pre-processor, the best time to use it is at the beginning of the workflow, to perform the demosaicing, noise reduction and optical correction work to the image before you move on to the creative editing. You can load batches of images and simply press the button leaving PureRAW to work in the background.
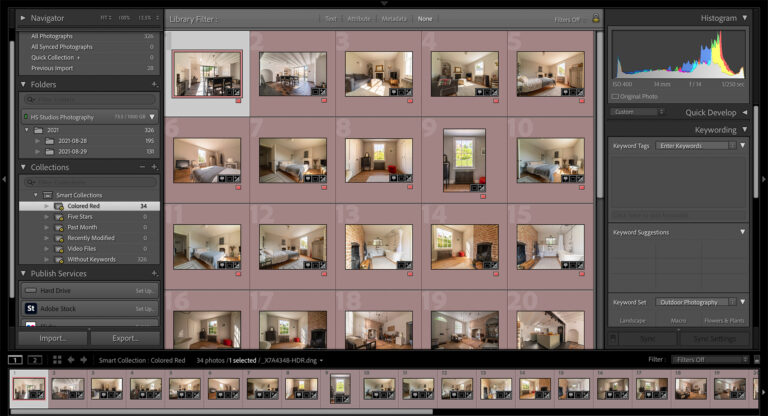
Step One – Load images into the Lightbox
Step Two – Apply basic correction settings
Step 3 – If required, add masks
Step 4 – Check output Settings
There have been measurable improvements to the speed of the denoising process in DeepPrime 3, A better, slicker user interface, controls laid out in logical sequence, easy for a new user to get going. Less choice of denoising algorithms (this might be a good thing) and more output formats.
Improvements in PureRAW 5
Let’s look at the differences between PureRAW 5 and 4.

Lightbox
With PureRAW 5 you gat an improved UI, highlighted in a fetching shade of blue, replacing last year’s green. The Lightbox is pleasingly simple to use, few but essential options. It is possible to view the exif data on individual images and each image has a star rating that is presumably inherited from a rating allocated in Lightroom or other software.
Two buttons at the bottom of the screen, Process with Preview and Process. Process will push the image into the queue and run it behind the scenes, using the last set options.
Process with Preview gives us access to three screens of options.

Noise Reduction
The first screen allows us to choose between three noise reduction algorithms (these also do demosaicing and presharpening) DeepPRIME 3, DeepPrime XD 2s/XD, and DeepPRIME XD 3 X-Trans.
DeepPRIME 3
is the newest, it is considerably faster and delivers the same level of noise reduction and detail retrieval as previously seen.
DeepPRIME XD 2s/XD
is last year’s model. It delivers near perfect noise reduction and a slightly more aggressive level of detail retrieval. If you are using a Fuji X-Trans sensor it will default to XD.
DeepPRIME XD 3 X-Trans
is designed for the Fuji X-Trans sensor. If you are using another type of sensor eg Bayer, this option will be greyed out.
Noise reduction can be influenced by two sliders, Luminance and Force Details. These influence Luminence noise and detail retrieval respectively. The. preview pane will show you the difference in close to real time. The preview pane itself can be toggled between whole pane before/after and slider before/after.
Optical Corrections
The rest of the options are concerned with optical corrections and draw on DxO’s rightly famous lens and camera body database. The software will download whichever profile it needs when you import a picture.
Configurable options here are:
Lens Sharpness Optimisation
Four presets + custom setting that is invoked by the intensity slider.
Vignetting – adjusting for light fall off in the corners, wide angle lenses are particularly prone to this.
Chromatic Aberration – removing red, green or purple fringing from areas of high contrast such as tree branches or edges of roofs against the sky.
Lens Distortion
Adjusting for lens distortion – this comes in three flavours, you can keep the complete image area which will show missing pixels around the edges after lens distortion is corrected,
Image Cropped to Original Ratio – the program chooses the best crop to fit the original ratio of the photograph.
Maximum Rectangle – The maximum area that doesn’t show missing pixels.
In my tests, it appeared that Chromatic Aberration was removed regardless of whether the option was toggled on or off. This is presumably a bug that DxO will fix, but I can’t imagine any circumstance in which chromatic aberration would be desirable!
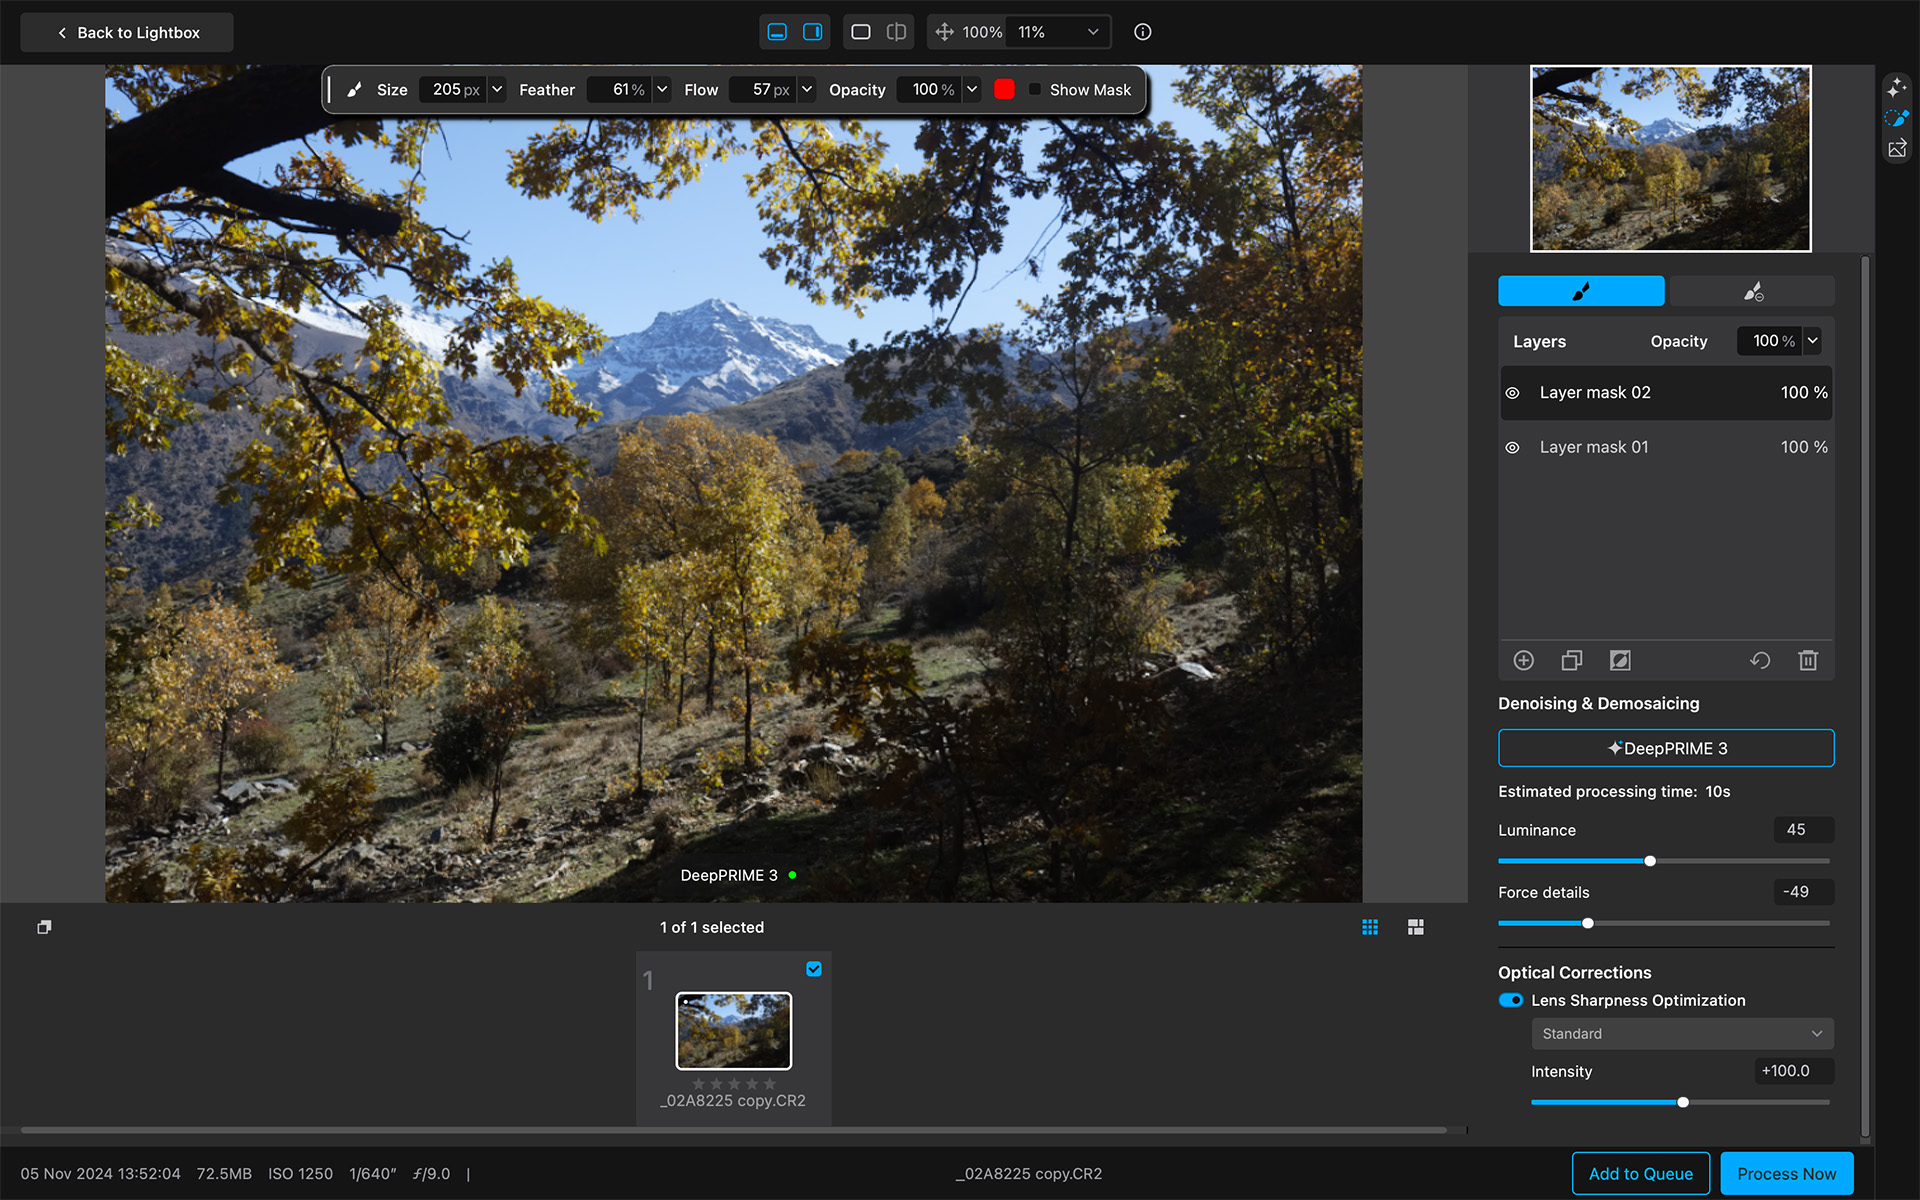
Masks
The ability to Mask areas of the mage is new to PureRAW and on paper it seems logical. The idea is there may be areas of an image you may want to work on independently of the rest of the image. For example shadow areas such as the one in this picture at bottom right. These can reveal more noise when they are lifted.

I think the option of carrying out localised noise removal and sharpness enhancement is a reflection of the fact that as camera sensors have got better, noise is less of a problem. This is a timely innovation from DxO.
Output
There are now three choices of output format.
- DNG
- Tiff (8 or 16 bit)
- Jpeg
DNG and Tiff both serve the idea of taking the editing further in a different processing software. 16 bit would be my choice for further editing in all cases.
Jpeg as an output format is an attempt to provide functionality that will appeal to the social media users but the thinking here is surely flawed. All but a very few images will require further editing, optical corrections, pre-sharpening and noise removal are rarely enough to realise a creative vision so I don’t see this as being useful. DxO have added their unique Smart Lighting control to the jpeg output but as you would expect from a jpeg, results tend towards the cartoonish. This is another add on that seems to lack substance.
Summary
Extra Functionality
DxO have decided to introduce more function into the product, possibly blurring the lines between pre-processing and creative processing with the introduction of masks and offering jpeg as an output format.
The introduction of jpeg as an output format brings with it two sliders, one to determine the output quality, the other to apply smart lighting to the picture. However, the point of jpeg is reduced size, what you lose is the ability to make substantial changes. Apply corrections to a jpeg and you end up with a cartoon. The problem is PureRAW appeals to serious photographers, serious photographers don’t edit jpegs, they edit RAW files for the very good reason that there is more information in a RAW file to edit.
Conclusion
PureRAW 5 is 90% excellent. Improvements to existing functionality have been executed well and increased speed is never a bad thing. I for one will certainly be using PureRAW 5 moving forwards.
I think the extra functionality is slightly flawed, but it doesn’t intrude on the core function which is to leverage DxO’s industry leading demosaicing, noise removal and optical corrections in the context of programs like Adobe Lightroom, Affinity Photo and Capture One. This literally makes your photographs better!
The Masking functionality is good, but confusing. In the lack of any tooltips, it’s hard for a new user to know what is being isolated in the mask. We can assume, noise reduction and sharpening.
So I’m recommending this software, certainly to users new to the concept of pre-processing. If you’re upgrading, you may feel the Masks and extra speed in DeepPRIME 3 are worth the fee too.
Try DxO PureRAW 5 – https://tidd.ly/4kXYrjP
Buy DxO PureRAW 5 – https://tidd.ly/4iBdA9d
Subscribe…
I’ll keep you in the loop with regular monthly updates on Workshops, Courses, Guides & Reviews.
Sign up here and get special prices on all courses and photowalks in 2026
I sometimes use affiliate links in our reviews and instructional material. If you purchase software or hardware through one of these links it won’t cost you any more, but it does help me to offset the costs of creating the content.
Thanks for your support!