Getting the Best out of HDR Photography
Getting the best out of HDR Photography involves knowing how to set up bracketing in your camera and how to use an HDR processor such as Nik HDR Efex or the Merge tool in Adobe Lightroom to blend the photographs together.
Table of Contents
What is HDR?
HDR the technique stands for High Dynamic Range and the technique started life as a means of extending the dynamic range of the cameras sensor to include extreme ends of the spectrum.
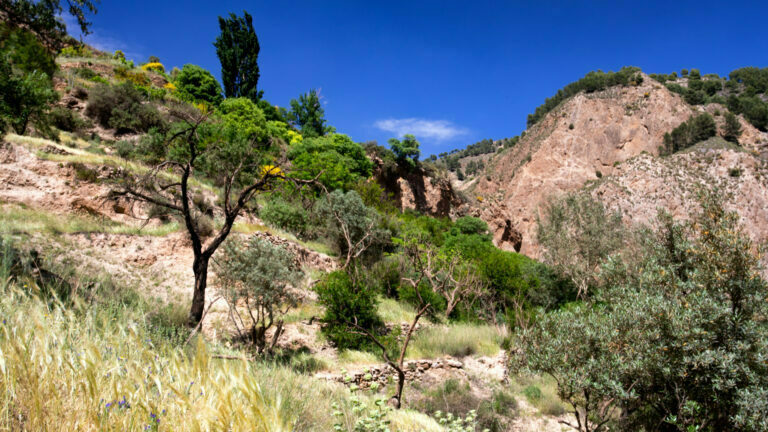
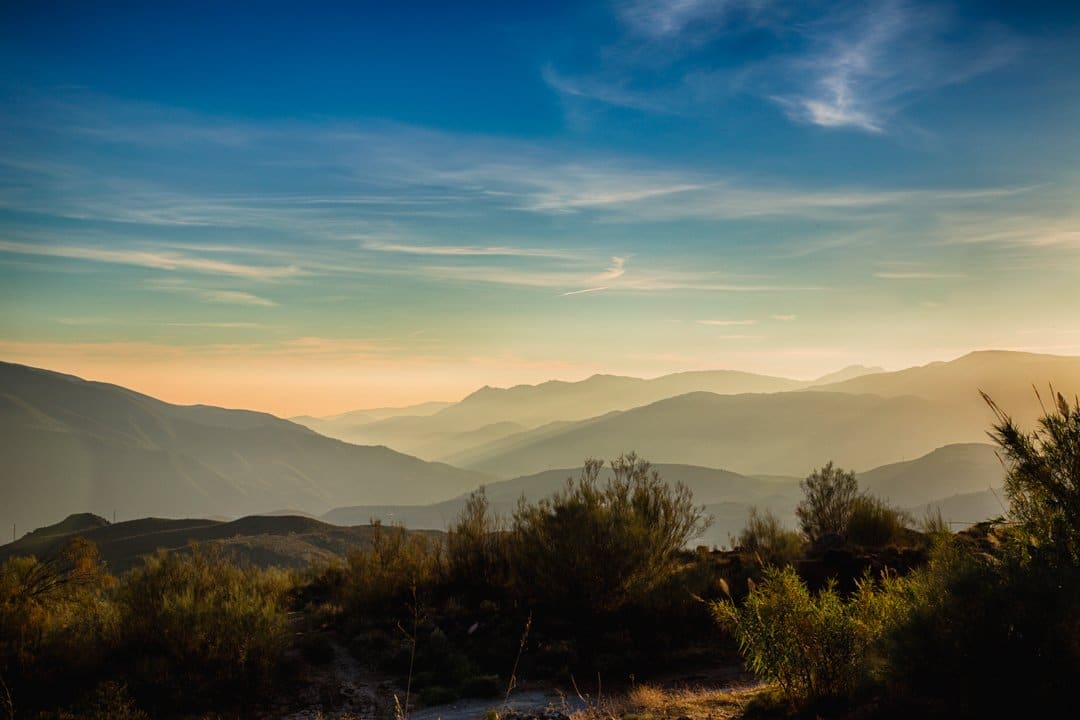
To put it another way, take any midday in the height of a Spanish summer. You will see very dark shadows and very bright lights. Few camera are able to ‘see’ into the shadows and at the same time retain the information in the lights. Often it becomes a choice between blowing the highlights or crushing the blacks.
If you take three shots, one exposed for the highlights, another exposed for the darks and a third in the middle, you can use the well exposed darks from one frame, the lights from another and the mids form the third to produce one photograph that has no blown out or crushed areas.
Adobe HDR Gamut
Last year, Adobe introduced an extended color gamut called HDR. Currently not that many consumer screens support this, Apple being an exception, some LG Televisions and Samsung. However the capability is now built into all current versions of Lightroom and Photoshop.
The Adobe version will undoubtedly become the standard so it will be interesting to see what happens in the Nik tooling that we are discussing here. Future articles about HDR on this website will be about Adobe HDR.
What is HDR For in 2024?
HDR is well known for producing garish, overly processed photographs that were inexplicably popular about twenty years ago. In 2024 a more naturalistic look is required and HDR has become a means to an end.
The end in question is usually to even exposures out. Take Real Estate photography. If you’ve ever taken a photograph indoors on a bright sunny day, you’ll know that the windows are almost invariably blown out. HDR helps us to render the outside scene as naturally as the inside and for that reason is still popular with Estate Agents.
Beyond that, any scene that your camera’s sensor cannot cope with in one shot without blowing the highlights or crushing the blacks is a good candidate for HDR.
How do I Know if My Sensor can Cope?
Modern sensors are much more capable than those from even a few years ago. My DSLR for example, a Canon 5Ds is not as capable in this regard as a Canon R5 mirrorless.
This is how you check.
Set up your camera and invoke the histogram. Use the camera’s evaluative metering to set up what the camera thinks is a good exposure. Check the histogram. If it is bunching up against either end, this indicates a problem that will manifest in overblown highlights at the right hand side or crushed blacks at the left.
Don’t take your camera’s word for it – adjust the exposure (slow the shutter speed) to the right if the histogram is bunched up to the left and to the left (increase the shutter speed) if its bunched up to the right.
If you can’t arrive at a point where you have no peaking hat left or right, then you need to use bracketing to capture the images and HDR software to process them.

You can see in this picture that the histogram is touching both ends of the graph telling us that the blacks are on the edge of being crushed and the lights are blowing out, check out the street sign on the wall next to the tree and the tree trunk itself.. This gives no room for contrast adjustments – the only way forward is to reduce highlights and open up the blacks which will take dynamic range out of the image, making it flatter. This is therefore a good candidate for HDR.
Bracketing
Bracketing is a process that you can do manually, but most cameras can be set up to do semi automatically. In my Canon for example I can specify three shorts at one stop apart, and then I have to take the three shots manually, the camera will make the necessary adjustment.
Setting up the Shot
The three (or five) shots need to be identically framed so a tripod is essential. Use one that is super stable. See my article on getting sharp photographs.
I’m going to discuss the two HDR tools that I know well.
Using Nik HDR Efex
Video
Here are the steps to load the images to HDR Efex.

Select the three or five images you want to process, right click and go to Nik 6 HDR Efex
This next step is important.

HDR Efex will process tif, but not Raw – so only choose Edit Original if your file is already in tif format. Otherwise choose Edit a Copy with Lightroom Adjustments

The next screen is a preview that you can use to check the alignment. It uses the middle photo to display which is a little confusing. This is not a preview of the finished HDR, but a preview of the images you have sent to HHDR Efex. Using the loupe tool I can see that it is a little soft at high magnification. I can choose to remove chromatic aberration at this stage.
Click Create HDR

Here, I can apply preset (mostly hideous, in a pre 2020 Instagram kind of way) or you can adjust the edit subtly, using the tools on the right. The preview screen is large and clear, the histogram helpful.
Press Apply

This is the finished photo back in Lightroom. The observant will notice this is in fact a slightly further advanced edit performed in HDR Efex only..
Using the Lightroom Merge Tool

To use the Lightroom Merge Tool. Simply select the three or five images you want to merge, right click and choose Merge -> HDR from the submenu.
You will then see a preview screen with various options.

Auto Align should always be checked, unchecking auto settings gives some further options, DeGhost should be set to none unless the images are not properly aligned.
Press Merge

And the picture is sent to Lightroom for further adjustment if needed. Looking at the tool panel on the right, you can see the values Lightroom has selected.
Which Tool is Best?
Well HDR Efex is more flexible and probably more fun. However it can introduce serious artefacts into the images as they become less rooted in reality. For my preferences, liking a more realistic look, I think the improvements in HDR Efex push it just in front of the rather rudimentary Lightroom Merge Tool.
But it comes with a caveat – be very careful of introducing artefacts into the image.
Commercial Use
I used the Lightroom merge tool for all of my professional edits when I did Real Estate shoots. It was reliable, didn’t introduce artefacts and gave me peace of mind in that I knew I would get a usable picture out of it so long as my tripod was toady and I chose the appropriate interval an number of bracketed shots.
I would not bracket more than a one stop interval, if I needed the dynamic range I’d go to five images rather than simply increase the interval between two images. This ensures I get the tonal subtleties and if I need to I can merge them manually in Photoshop to get the result I need.
Subscribe…
I’ll keep you in the loop with regular monthly updates on Workshops, Courses, Guides & Reviews.
Sign up here and get special prices on all courses and photowalks in 2024
I sometimes use affiliate links in our reviews and instructional material. If you purchase software or hardware through one of these links it won’t cost you any more, but it does help me to offset the costs of creating the content.
Thanks for your support!