DxO ViewPoint 5 Review
I’ve waited a few weeks before writing a DxO ViewPoint 5 Review for a couple of reasons. Firstly my acquisition of the Canon EF 11-24mm L extreme wide angle lens, secondly my contracting Covid 19 for the third time and finally a trip to Valencia to photograph the City of Arts and Sciences in Valencia booked for November. I decided that it would be better to do the Valencia trip as a separate video and instead, concentrate on local architecture which is none too shabby itself!
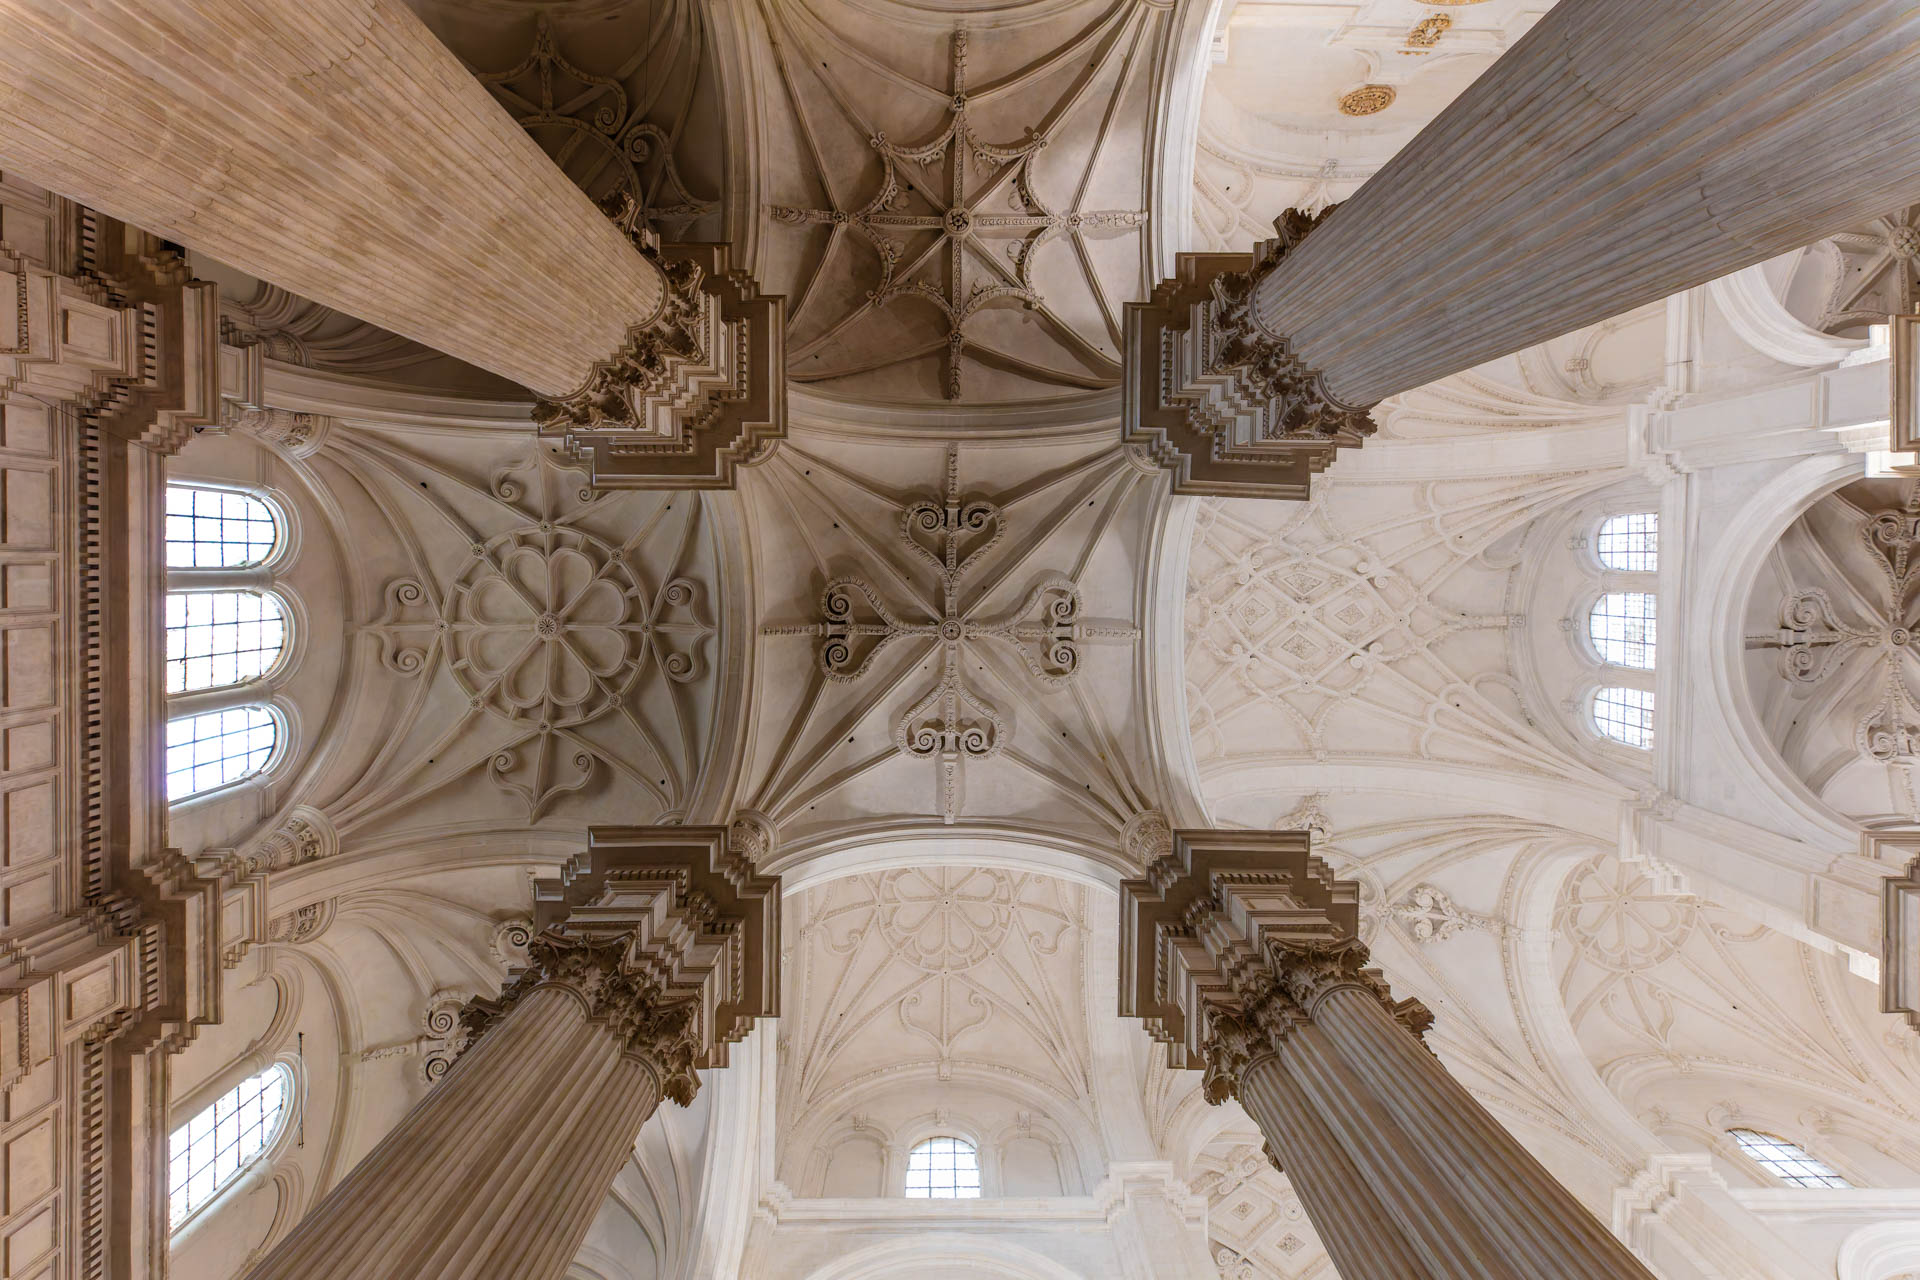
So I decided to shoot Granada Cathedral as a means of illustrating the problems we encounter in architectural photography and demonstrating some of the solutions, both in camera and in software.
Software is not a silver bullet for flaws in your shooting technique, but it can make a real difference in correcting flaws in the lens and even in the actual building!
Table of Contents
The Problem with Architectural Photography
The principal issue with architectural photography is often the inability to fit an entire building into a single frame. Wide angle lenses notoriously distort the perspective, angling a lens upwards to fit the roof into the frame produces horrible perspective distortion in the shape of converging verticals and shooting straight on generally reduces the building in favour of the foreground.
Solutions
There are a number of different solutions, each requiring the addition of either software or hardware to resolve the situation.
Panoramas
Panoramas involve the stitching together of multiple images to include the entirety of a scene in a single image. This can be done in Lightroom and in Photoshop, but not in DxO PhotoLab. There are also specialist programs that do a better job of panoramic photography such as PTGui and Pano2VR if you want to build virtual tours. I have also used 3DVista’s Virtual Tour Pro with some success.
However, Panoramas are time consuming and fiddly to get right, in fact a whole genre of photography in itself, the software is expensive and has a learning curve so these are solutions for the dedicated.
Wide Angle Lenses
Wide Angle lenses are often used to photography interiors and exteriors, I have two that I use frequently, the Canon 11-24mm L and the Canon 16-35mm L mk III.
Of the two, the 11-24mm is unashamedly a specialist lens. Its extreme wide angle makes it difficult to use for anything other than architectural photography. The 16-35mm is a much more flexible lens, easily the sharpest lens in the 16-35mm series and often used for astro photography and landscape in addition to architectural photography.
Every photographer should have at least one wide angle lens, I would unhesitatingly recommend the Canon EF 16-35mm L as a sound investment. You can pick them up second hand at quite reasonable prices these days.
Tilt Shift Lenses
Tilt Shift Lenses are designed specifically to resolve the main issue faced by architectural photographers. Using the shift mechanism we can shoot level, to avoid the converging verticals issue, but raise the lens so that we can see the roof at the expense of the foreground. Serious architectural photographers will often use a Tilt Shift lens in conjuction with the panoramic technique.
Perspective Correction in Software
This is where DxO ViewPoint comes into play. Although both Lightroom and Photoshop have perspective correction tools, they are not in the same league as those supplied with ViewPoint. A ViePoint license also activates several of the tools inside DxO PhotoLab s that you don’t need to leave the PhotoLab workflow.
Problems with Shooting inside the Cathedral
Lighting
The Cathedral is lit both artificially and with natural light, producing some horrible casts in some frames. I have a workaround in Photoshop that I use to get rid of color casts which I will feature in another post presently.
ISO
An extension of the lighting problem – the base level of light is very low inside the cathedral, necessitating a very high ISO in some shots. This means noise in the shadows, so all of the pictures here have been treated in DxO PureRAW.
Tripod Ban
It is forbidden to use Tripods inside the cathedral so long exposures are not an option.
DxO ViewPoint

Opening an Image in Standalone Mode
Be aware that ViewPoint needs the original EXIF data, in order to know what lens and body have been used to create the image. This enables it to use lens characteristics in the basic corrections. If you open an image that has been passed through DxO PureRAW, the software will prompt you to load the original.
The DxO ViewPoint Control Panel
As with other DxO software, the image opens in a large viewing panel and the controls are on the right hand side.
From the top we can adjust the parameters controlling various aspects of the image.
Distortion
To correct lens distortion, we can operate the Distortion panel, choosing either Auto, which will use the information in the Exif data to apply lens corrections. or Manual.
In Manual mode we can correct Barrel, Pincushion and Fisheye Distortion.
Barrel Distortion

Barrel Distortion is the effect caused by many wide angle lenses where the straight lines in the image appear curved towards the edge of the image.
Pincushion Distortion
Pincushion distortion is the opposite of barrel distortion, where straight edges curve inwards towards the centre instead of outwards as in barrel distortion.
Fisheye Distortion is the extreme barrel distortion associated with Fisheye lenses where the entire image appears to bulge out from the centre.
Volume Deformation
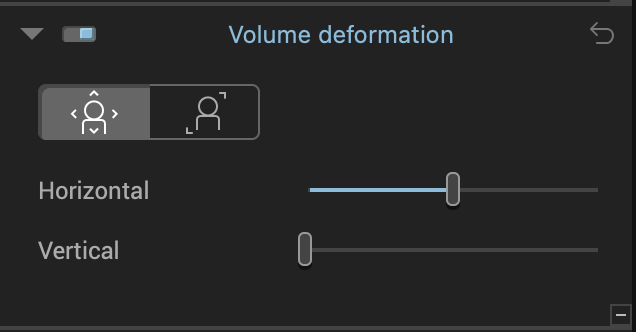
Volume Deformation is where objects near the edge of the frame become elongated. In other words the magnification is inconsistent across the image.
You can control the vertical and horizontal aspects and separately the diagonal aspect.
Perspective
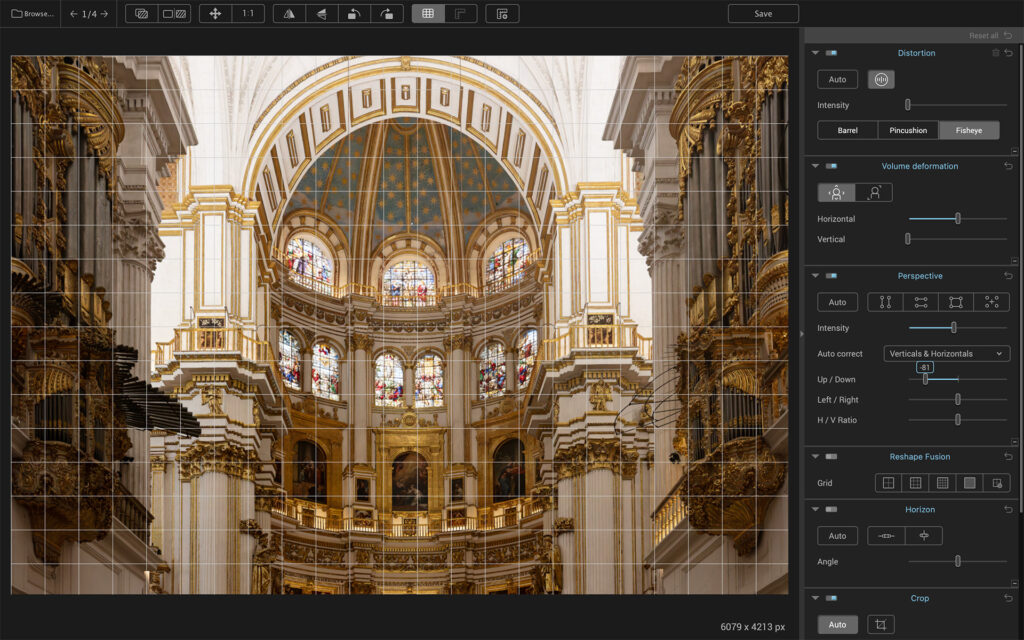
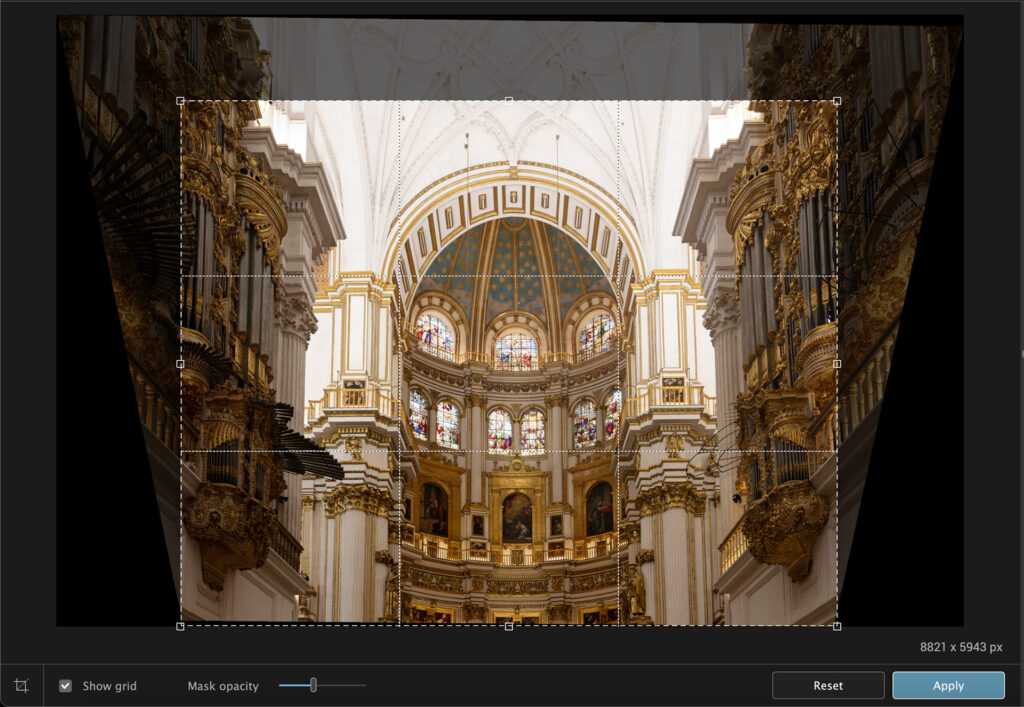
Perspective Distortion is the manifestation of the converging verticals issue. In this image we can see the effect of altering the verticals and horizontals to make the converging verticals parallel.
Note that where the image is heavily distorted, corrections tend to shift the distortion elsewhere in the image, so a final selection is something of a compromise. This is not a ViewPoint issue, it’s a Physics issue, seen to greater or lesser extent across all perspective correcting software.
Reshape Fusion
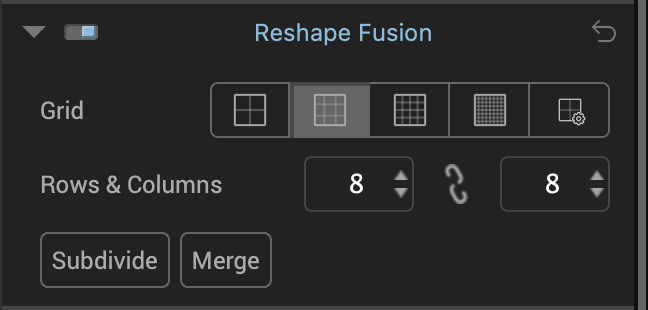
Reshape fusion is vastly improved in this new release. Essentially it gives you the ability to correct details within the image and optionally to have the rest of the image altered to accommodate the small correction.
It works by placing a grid over the image and the user pulls the points of the grid around to create the desired effect. This can be coarse grained in the four square grid on the left or very finely grained as in the 32×32 grid on the right. You can also set custom grids to suit your own requirements.
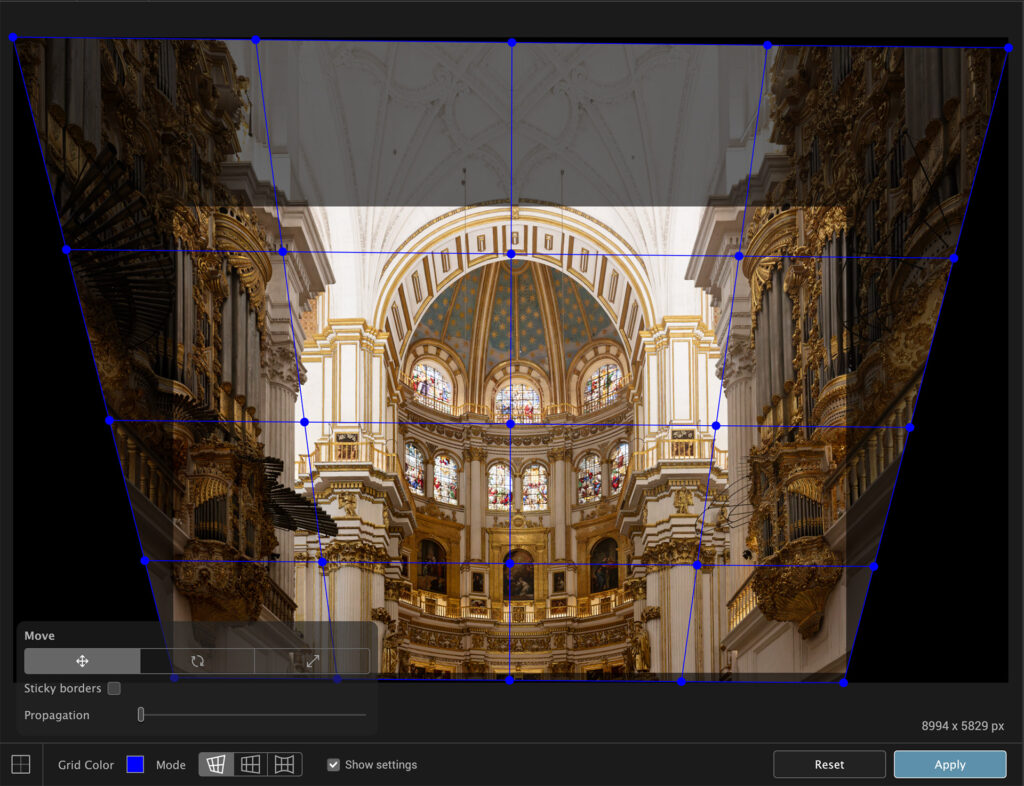
In the type of image we have here this would most likely be used to correct an actual flaw in the building rather than a lens distortion but in landscape photography this can be used to make mountains higher and steeper than they actually are. A moral dilemma then – like artificial intelligence, how much of this type of “correction” is permissible in a landscape photograph?
Horizon
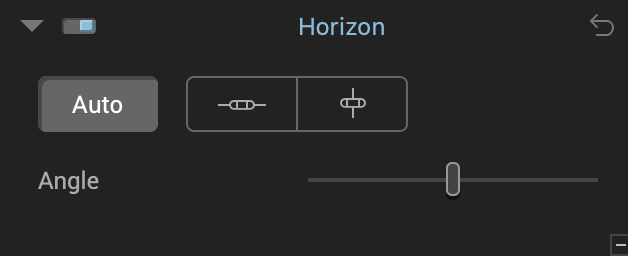
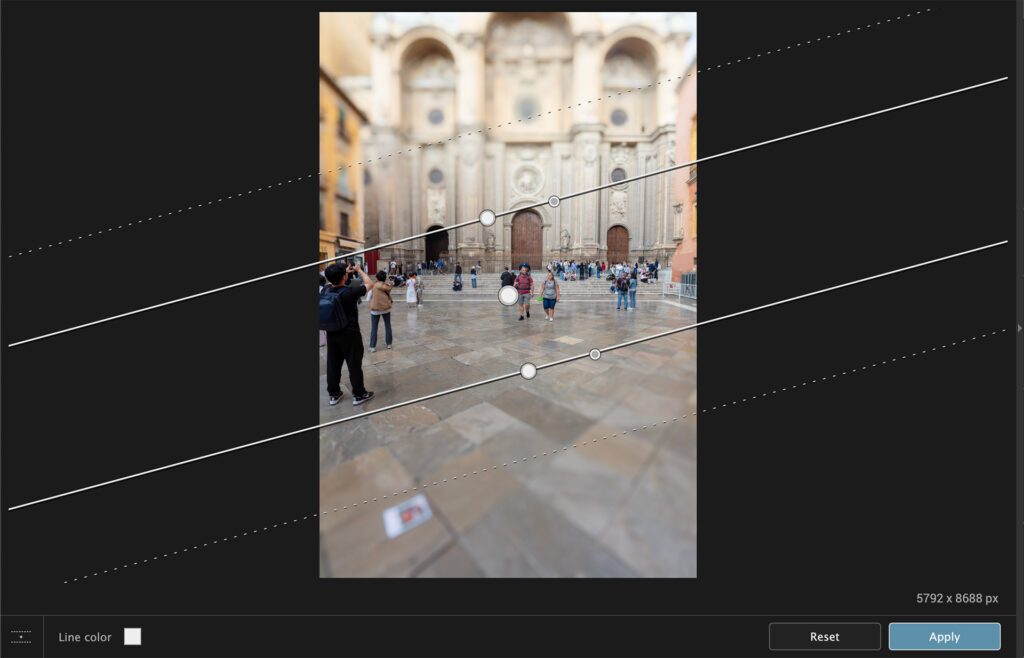
The Horizon tool sets the level of the picture against a virtual horizon. This can be placed horizontally or vertically
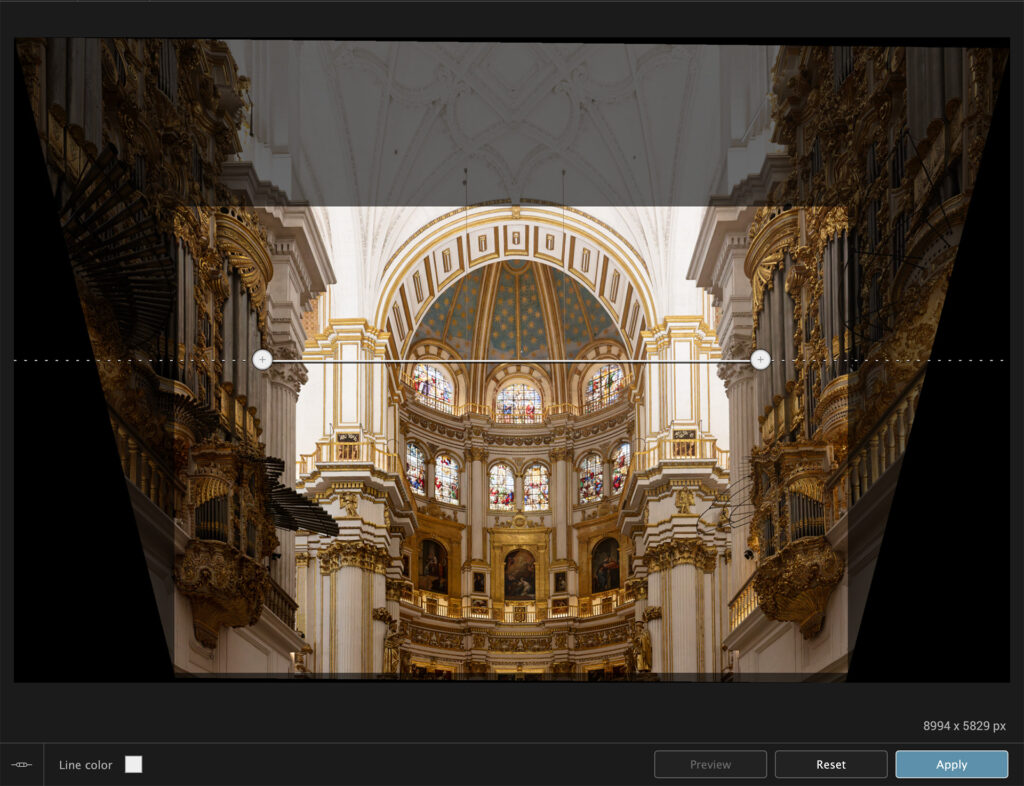
Here the user places the controls in such a way that they reflect the actual level. For example here they are placed on the same spot on opposite sides of the picture that I assume would be level in real life. The image is then adjusted to make this line level.
Crop
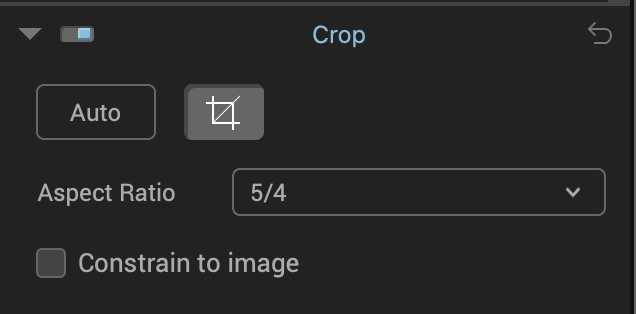
The Crop Tool works in exactly the same way as the Crop Tool in Lightroom, Photoshop, PhotoLab etc. Simply choose the ratio you prefer or Unconstrained. You can also create custom rations should you wish to.
Miniature Effect
The Miniature Effect is a means of producing a very specific depth of field, usually symmetrical where an area of sharp focus is bounded by areas of softness. With the tool you can set the degree and width of sharpness and the characteristics of the softness.
This effect is often used in lifestyle photography for example on a table setting to emphasise the food. In landscape photography it has the effect of making the sharp area appear to be much smaller than it is. hence “Miniature”.
Download the Software
You can try or buy the software. Use these links to get to the DxO shop. There is a 30 Day Free Trial – all features, no watermark
or you can buy straight away – €109 or €69 if you are upgrading.
Conclusion
I have to say I’m a big fan of ViewPoint. It does so much more, so much better than the Adobe equivalents in Lightroom and Photoshop. The Auto settings are often good enough, and the custom settings allow a fantastic amount of control. In all, highly recommended for both DxO and Adobe users.
I sometimes use affiliate links in our reviews and instructional material. If you purchase software or hardware through one of these links it won’t cost you any more, but it does help me to offset the costs of creating the content.
Thanks for your support!


