Photographers Guide to Shooting Video
Photographers guide to shooting video is a two-part post, this part focusing on kit, and the next part on technique.
Video is a Different Skill
For photographers transitioning to video, and I absolutely include myself in this problematic category, shooting video exposes the Dunning-Kruger effect in spades. If you don’t already know, the Dunning-Kruger effect is “a cognitive bias whereby people with low ability, expertise, or experience regarding a type of task or area of knowledge tend to overestimate their ability or knowledge”.
Video, although it shares a similar set of technology with photography, is a different skill altogether and most photographers horribly underestimate the learning curve in front of them.
Storytelling with video requires the appreciation and use of different grammar. It requires thinking in sequences, something that even documentary photographers struggle with. It requires a ‘less is more’ mentality with regard to the moving camera (None of us are Orson Welles) and a real sensitivity to the viewer in terms of things like eye-line. I went to film school and studied this stuff formally and I still struggle with the transition from stills to video, but I realised that I would have to address it if I wanted to launch a YouTube channel.
A Photographers Guide to Shooting Video – Kit
I started a YouTube channel several years ago and put up some of the videos we made for clients at Helter Skelter Studios, to showcase my role in the shooting. Generally camera or drone.
When I decided to relaunch my YouTube channel I realised that I needed to up my game substantially and focus on content that will be useful for other photographers. And there’s another step, if I wanted to go beyond standing in front of a camera and talking, then I needed to invest a little in some extra kit to enable the use of a DSLR as a video camera.
Table of Contents
Many people claim on YouTube that all you need to get started is an iPhone. You’ll have a decent picture and barely adequate sound, but you’ll be in the game. While I agree in general with the wisdom of investing only when there is a clear business case to do so, I doubt if a photography channel would be well served by shooting with an iPhone. The competition is a way down the line, and many have invested massively in kit, which tells its own story.
There is a good case for reusing the kit you already own as much as possible, and depending on the content of your video, that should take care of the camera, tripod, and lens at least. The immediate issue I run into, is that some of my content will feature me, on location, explaining things to camera. That requires a second camera at least.
So bearing in mind my channel is about landscape photography, and I will be shooting most of the content myself (and dragging all the kit around with me!), this is the rig I’ve settled on.
Tripod & Head
To shoot anywhere outside of my house, I need to think about making life easier for myself and that means lighter. The video kit I can access today includes a Canon C100, a Manfrotto Video tripod and a Manfrotto video head. Shoot me now! That kit alone weighs more than my current camera bag contents. So I’ve needed to think seriously about the kit I can carry in addition to the kit I already have.
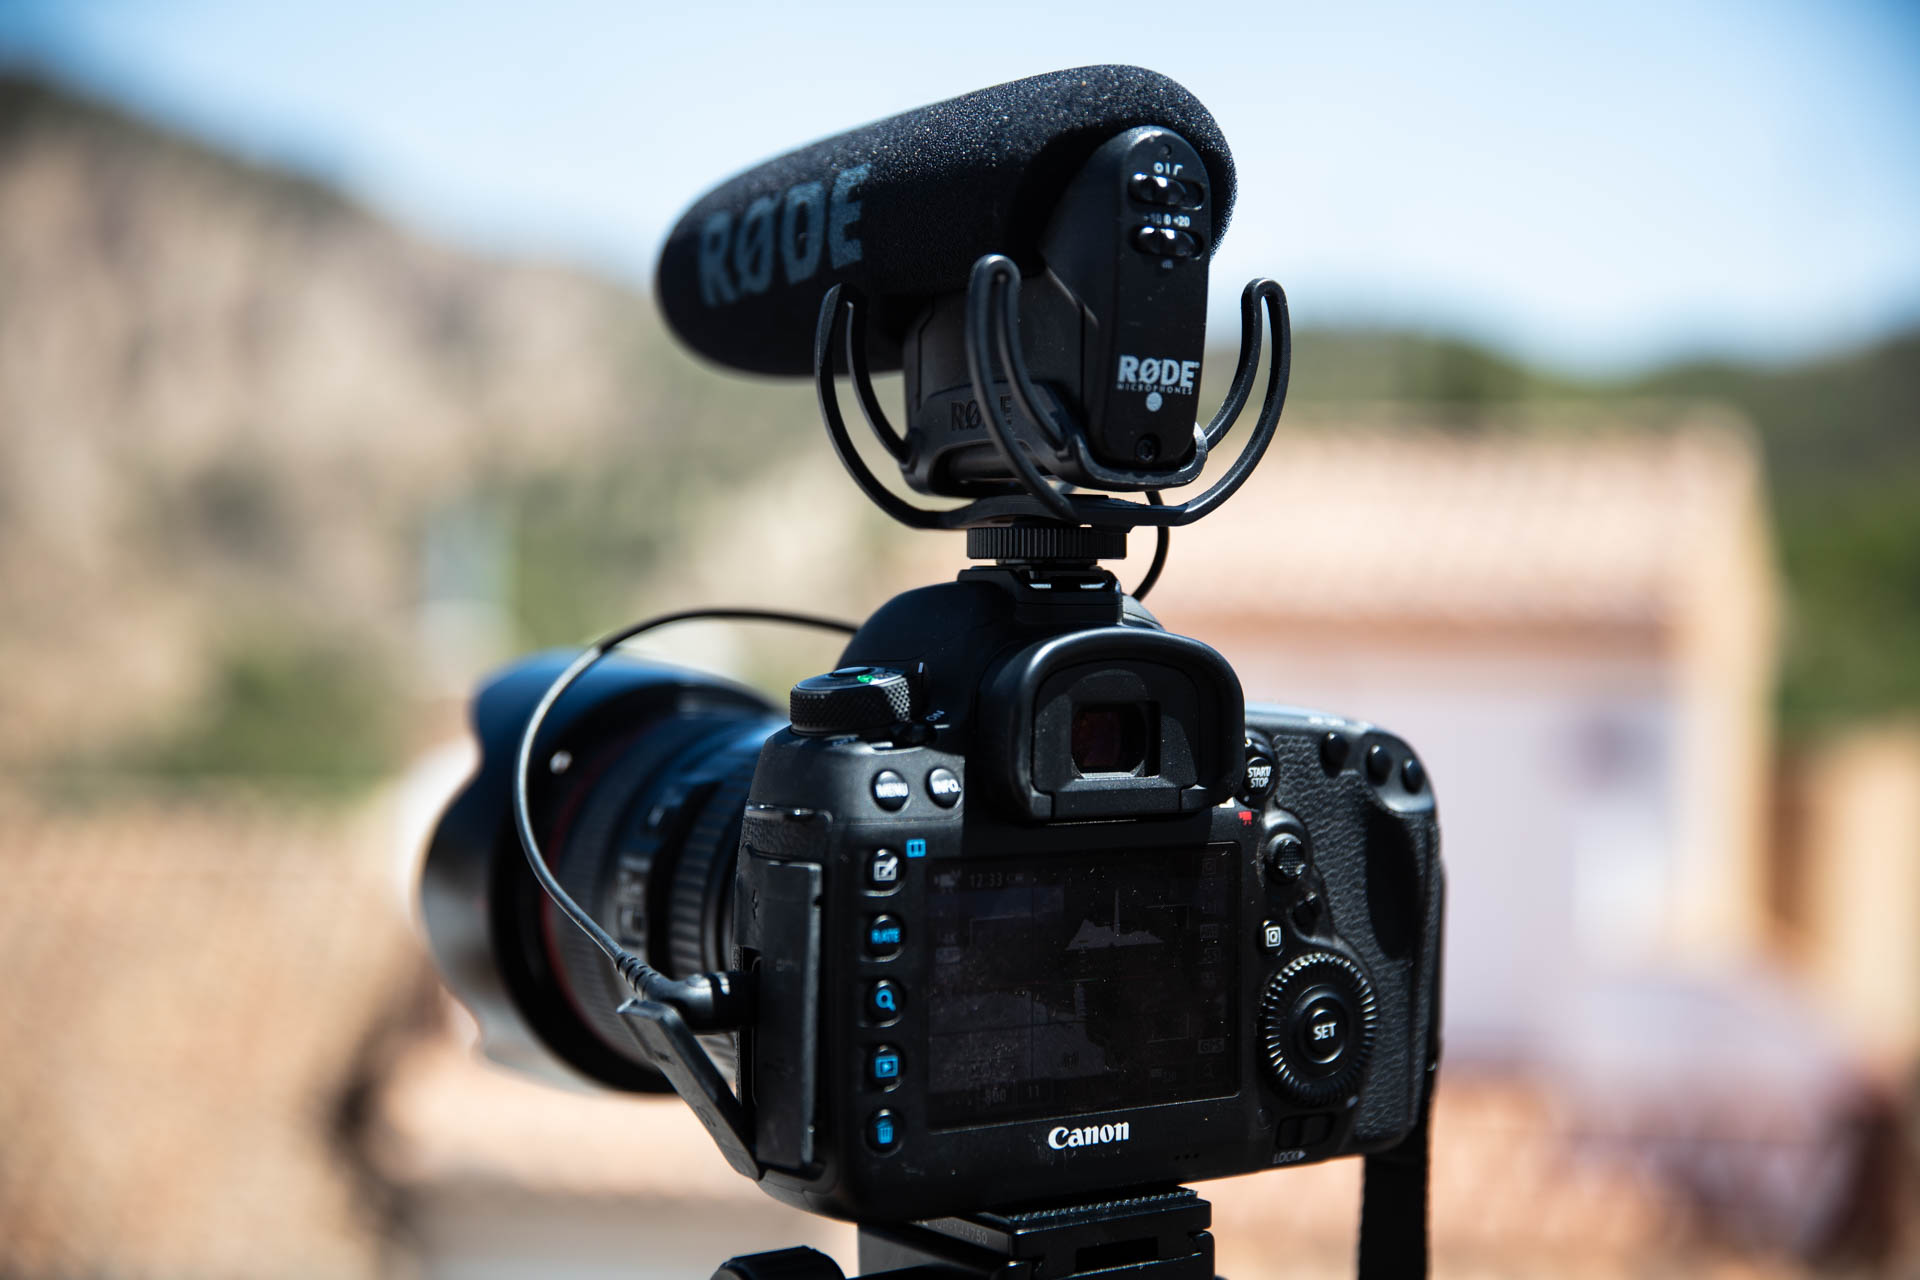
I need kit I can carry for at least five miles, over rough terrain if necessary. Now take this scenario. I’ve hiked a few miles into the Sierra Nevada and I want to shoot a scene involving a straightforward YouTube style scenario with the photographer setting up a shoot and explaining what they are doing to the viewer. The setup in the picture includes a Canon 5Ds to take the photograph, a Feisol 3442 tripod with an Acratech Ball head. What is being used to shoot the video?
Well, there is either a second shooter and/or a remotely controlled video rig that can’t be seen in the finished video. I decided I needed a second rig for video and that weight and speed were the prime considerations.
Weight
Feisol Tripods are exceptionally light and extremely sturdy. I’ve been using a Feisol 3442 (with three leg extensions) for around eighteen months now, and I love it. I bought a Feisol 3342 (with two leg extensions) for the video camera (which, for the foreseeable future, will be a Canon 5D Mk IV). This adds a mere 1.17kg to my camera bag.
I added a lightweight video head, the FEISOL Video Head VH-40, at 590g and a levelling base, the FEISOL Leveling Base LB-7567, at 410g. This combination gives me a dedicated tripod set up for video, weighing only just over 2 kg. It is quick to setup and compatible with my Acratech baseplates, so switching the camera around is a no-brainer.

Cameras
I’m using a Canon 5D Mk IV to shoot live-to-camera footage and B-Roll in 4K. This isn’t the best solution; the Canon R5 is a much better video camera, but the 5D is the camera I have, and it does the job adequately. I use a 24-105mm Canon lens with an ND filter to manage the light if I need to.
In addition I plan to use a DJI Pocket 2 for walk-and-talk footage and a DJI Action 3 for driving, climbing and swimming footage.
Filter
Shooting video on a DSLR or mirrorless camera requires shutter speed to be double the reciprocal of the frame rate (a frame rate of 24fps should ideally be shot at 1/48 sec). This produces more realistic or cinematic footage, a touch of motion blur on waving hands, for example. In Spain, we have a lot of light and the problem with reducing the shutter speed is that you let more light into the sensor. If you want a soft background (wide aperture) and a low shutter speed then you have to use an ND filter to prevent overexposing the shot.
You can also use ISO (Gain) to achieve the opposite effect – if you need more light to make a decent exposure. Check out my article Understanding ISO in Digital Photography for detail.
Instead of buying a range of ND Filters, most people now use a variable ND filter that is effectively two polarising filters stacked together. Turning one filter increases the number of stops of light being filtered. This obviously has its advantages over a collection of filters.
Sound
I use the DJI Mic kit to record sound directly onto the camera in synch with the picture. Check out my Review of the DJI Mic. to see why I chose DJI over Rode for my mobile mic solution.
I still use a Rode Mic on the B-Roll camera to pick up atmosphere.
I also use a Tascam DR-40X to record ambient sound at the location. This gives me an option in the edit to add a little depth to the recording making it sound more conversational and less like a presentation.
Storage
One thing about video is it eats storage. The main synch footage is not the worst offender, the B-Roll is far greedier.
Consider a short linking sequence that takes the viewer from location A to location B. It might consist of a short zoom past the presenter to a feature of the location, from there, a couple more shots of the location cutting to the presenters feet moving through the frame, right foreground to left background.
Each part of this sequence will need some lead in frames at the front and back to offer choice in the edit. This means 5 seconds of footage will be discarded immediately. There may only be two seconds of usable footage in each part of the sequence. The entire sequence is unlikely to last longer than a few seconds on screen, but you’ve shot maybe ten seconds per element. That’s forty seconds of footage sitting on your hard drive of which only 20% is used.
I use 1Tb disks for each year of my photography output, ruthlessly pruning the unusable as I go. For video, I think it’s necessary to maintain at least a 4Tb drive, with the same again as backup.
I recommend taking a structured approach to video right from the beginning. B-Roll footage can be built into a library surprisingly quickly and be reused across multiple projects. Interview or Presentation footage is per project by necessity.
Use the same method I use for my photography – work from the bad to the good, so discard immediately anything that is technically flawed. then take a second pass and discard anything that is duplicated or otherwise redundant. Save the rest. The danger in doing this the other way around i.e. from good footage to bad, is that you’ll never discard anything at all -” just in case” is the enemy of storage economics!
Editing
I’ve decided to change my editing platform from Premiere Pro to Da Vinci Resolve for a couple of reasons. Cost being first and foremost. I no longer need the complete set of Adobe apps for Helter Skelter Studios as we’ve reduced the scope of our offerings so that we can focus on a core around Photography and Video, so I’ve been able to downsize my Adobe subscription to the Photography Plan which gives me Lightroom and Photoshop at a saving of nearly 85%.
Conclusion
For a photographer who already owns kit, the cost of setting up a basic shooting setup is not vast. However, only a few people can be interesting on camera over more than a couple of minutes so the onus is on the filmmaker to make the content interesting.
Saving around £50 every month by reducing my use of Adobe products has worked well, effectively financing the whole venture. My outlay on the new kit for video has been £695 so I’ll recoup the outlay in fourteen months.
One interesting trend on YouTube that I’ve noticed is that some photographers are going for longer content. And they are finding out how hard it is to make long form content compelling. I’ve seen beautifully shot 20-minute videos that have literally sent me to sleep because there is no grasp of the basics of storytelling, no narrative arc, and no reason to watch further. Video wallpaper. I think these video makers will improve; the photography itself is too good to believe they won’t see the problem, but for me, I’m just focusing on short content that is useful. First one is on the drawing board as I write! One step at a time.
Subscribe…
I’ll keep you in the loop with regular monthly updates on Workshops, Courses, Guides & Reviews.
Sign up here and get special prices on all courses and photowalks in 2024


