Infrared Photography Processing
Infrared Photography Processing can be broken down into three techniques. Channel swapping, faux colour and monochrome. I use Adobe Lightroom and Photoshop in combination. Before we dive into that, I’m going to recommend you visit the earlier post with instructions on how to create a custom colour profile for Lightroom which you will need to get rid of the red cast on the pictures. Note that Capture One does not need a custom colour profile.
Channel Swapping

Once the customer colour profile is applied, your picture will look like an old sepia negative. The technique known as “Channel Swapping” reverses the values for blue and red in the Channel Mixer in Photoshop.
First, in Lightroom, push the white slider to the point where it overexposes then pull it back a tad. Similarly with the blacks. You want your blacks to be black and your whites white. Then, saturate the oranges a little, (this is highly subjective) choose “Edit in Photoshop”. Once there, go to the channel mixer and for the output channel ‘Red’ change the values to Red 0, Blue +100. Then switch to the Blue output channel and set Blue 0 and Red +100. This will make your skies much more blue and your foliage slightly orange.
You can save the image, go back to Lightroom and work on the generated tif. I would apply some clarity, a little vibrance and maybe tweak the saturation.
Another, and I think better way of getting the channel swap effect is this – go to the ‘Levels’ slider and pull the darks to the middle. Take the whites all the way down to the left and then move the darks from the middle, all the way to the right. Your picture will look like a negative. Change the blending mode to ‘Hue’. This technique gives a slightly more natural shade of blue in the sky than the straightforward channel swapping technique.
Your picture should look something like this.

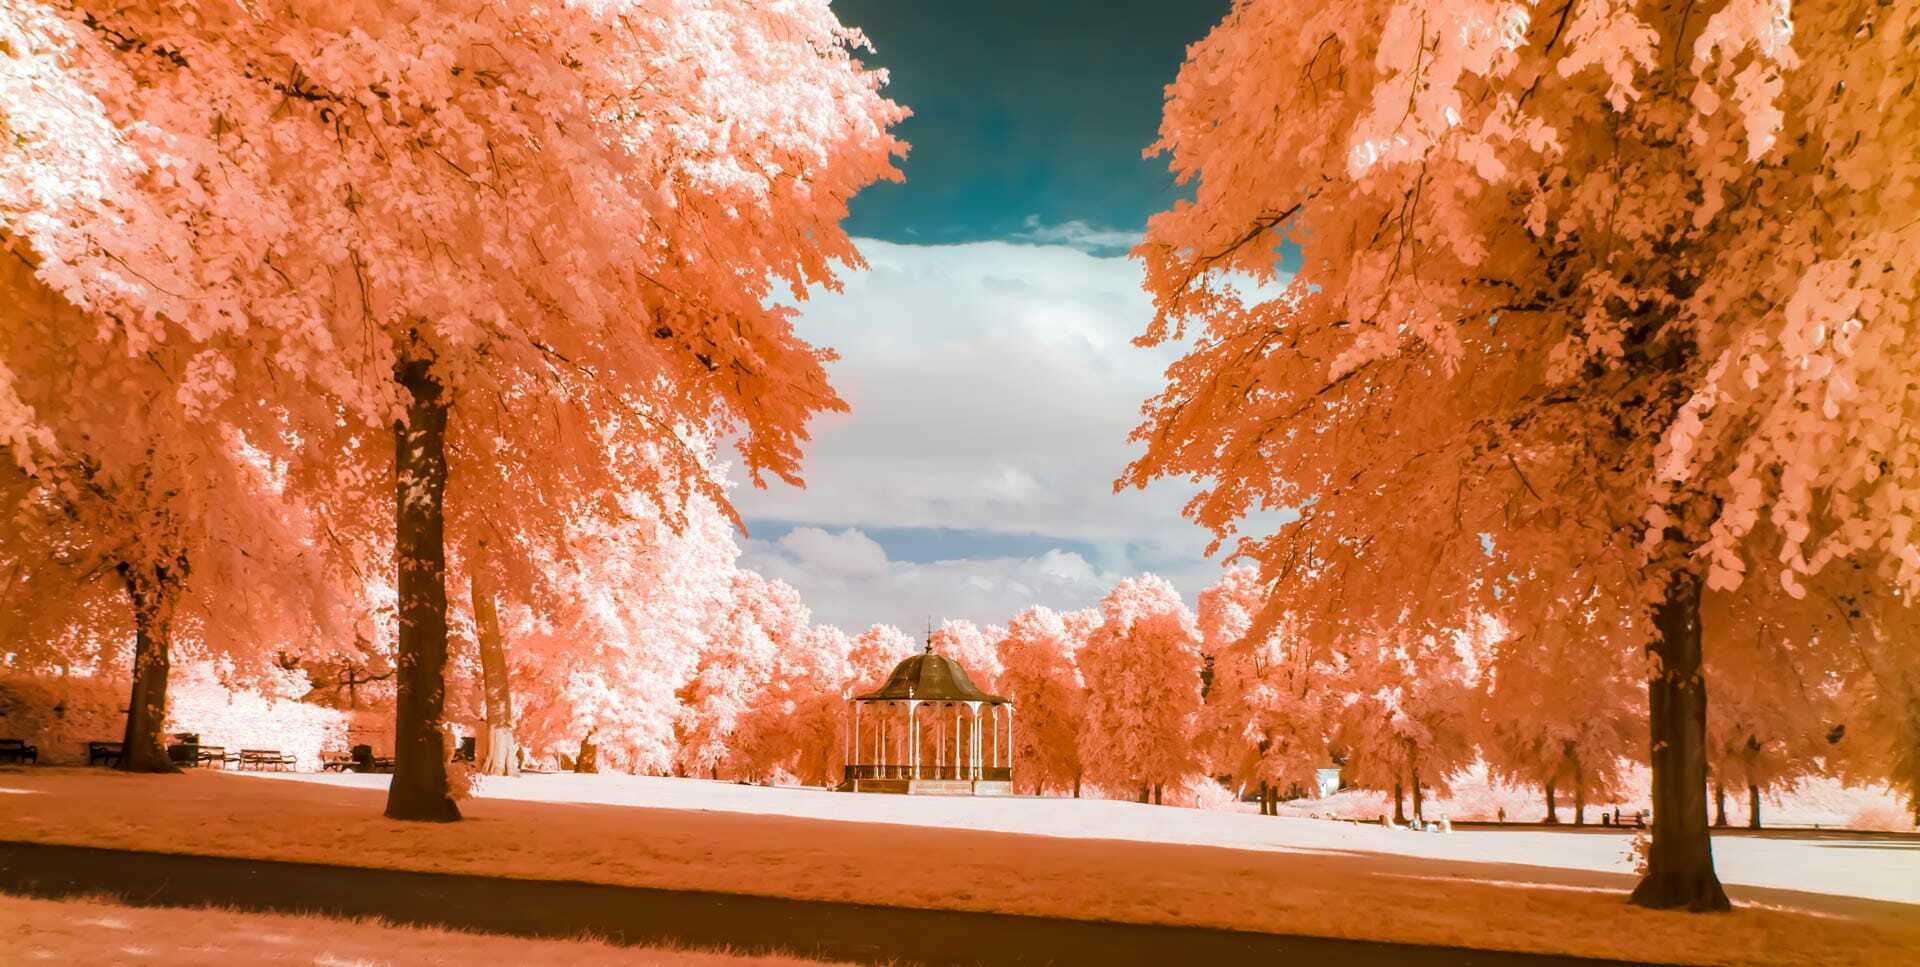
Faux Colour

With this technique, you can get away from the Blue/Orange axis and embrace more vibrant colours.
This is how it goes.
Prepare your picture in the same way as before in Lightroom. Push the whites and blacks to get a good dynamic range Play around with the white balance to get a good separation between sky and foliage. Do this by clicking on the dropper in the White Balance screen and selecting various areas of the image to see what works. Clouds for example. When you have a good separation, forcing most of the colour into the foliage, increase the clarity and vibrance and push the saturation until it looks too much. Leave it there, trust me, at this stage, the more garish the better.
Then “Edit in Photoshop”. Go to the Hue/Saturation tool and leaving it on master, play around with the Hue slider. You’ll find a vast range of colour combinations, have a play, go with what feels right.

Black and White

I chose to fit a 720nm filter to my camera. Infrared occupies a spectrum between 700nm and 1 millimetre. So a 720nm filter will let a little colour in, 590nm and 665nm let a little more colour in. It is this extra light that we’ve been playing with in the preceding sections.
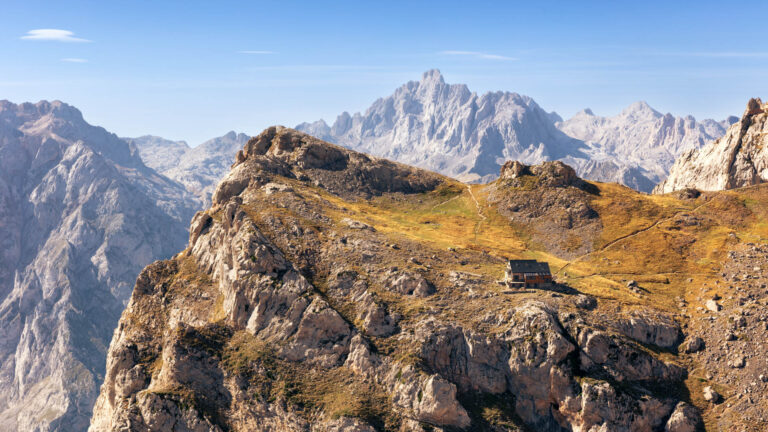
The 720nm filter is great for black and white, the rules for processing are more or less the same as before – Set the white balance – your installed custom profile gives you a good starting point, closely aligned to the custom profile in your camera. Push the blacks and whites to their sweet spots (just before they peak). Play around with the image in order to get a good separation between the aspect of the picture you want people to look at and the sky, then convert it to black and white.
The Black and White conversion can be done in lightroom by applying a black and white profile, or in Photoshop, or as I prefer to do, using a programme such as Silver Efex Pro to give me a range of options in the Black and White spectrum.
The monochrome conversions look great, as it takes a second look before the viewer realises that the foliage is the ‘wrong’ shade!
These are the key techniques in infrared photography processing, you can mix and match to your hearts content. For example, in the flamingo coloured photograph of the Quarry in Shrewsbury, the bandstand is subject to the flamingo cast. I could create a mask for the bandstand and apply a monochrome layer so that the cast is removed. It’s details that make infrared photography such a rewarding pastime.
Subscribe…
I’ll keep you in the loop with regular monthly updates on Workshops, Courses, Guides & Reviews.
Sign up here and get special prices on all courses and photowalks in 2024
I sometimes use affiliate links in our reviews and instructional material. If you purchase software or hardware through one of these links it won’t cost you any more, but it does help me to offset the costs of creating the content.
Thanks for your support!